This post is not sponsored, but does contain affiliate links. This means I may earn a small commission when you shop through my links, at no extra cost to you. To learn more, hop over to our Disclosure page. Thank you for your continued support!
how to layer for winter
how to layer for winter
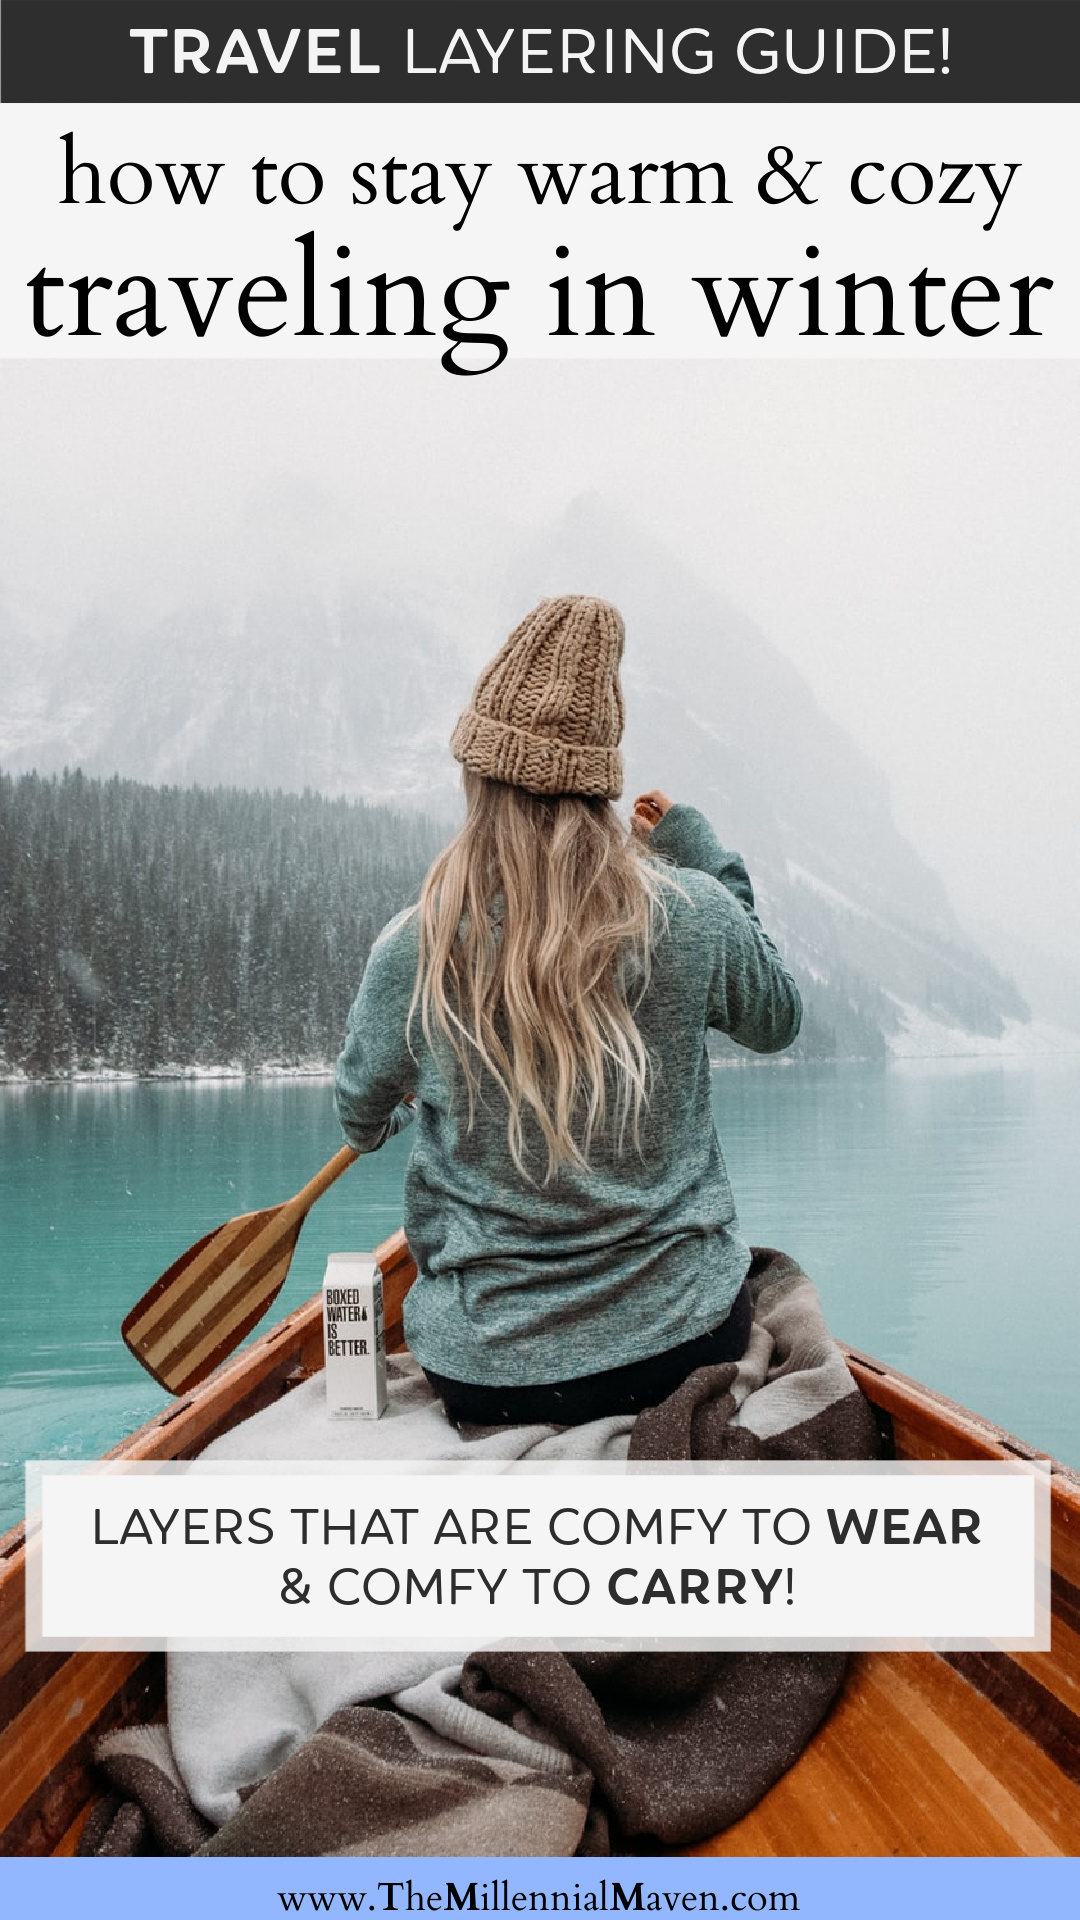
Layering clothes for weather below 70˚ is a skill I simply did not possess.
For people who live in cold climates, this is all basic stuff. But for people like me who live in warm climates, (and who start shivering when temperatures dip below 72°), figuring what exactly you should be wearing at different temperatures actually took me a lot of trial and error. If you have ever looked at the temperature at your travel destination, only to think something like, “Okay, 39˚, how cold is that? Do I need long underwear?” then this post is for you. Keep reading to find out how I layer my clothes for the most confusing temperature ranges!
If you're anything like me & you have *no idea* what to wear when it's cold, then this is precisely what you need! Share on X
Editor’s note: This is a recurring post— it is regularly updated with new information & products!
Table Of Contents
ANCHOR
Layering lessons for people who don’t practice often
From one always cold person to another, this is my definitive layering system for each temperature range that keeps me perfectly cozy, but not stuffy and claustrophobic. Trust me, I have gotten it wrong in every way possible before I finally figured out the system that works for me.
As I learned the hard way, layering isn’t just about piling shirts over shirts over shirts, and then topping your shirt-cake with a big jacket. Instead, each layer should serve a specific purpose to help keep you warm, which allows you to wear as few layers as possible. The most mind-blowing lesson I learned the hard way is that more layers does not guarantee more warmth. Keep that in mind and giggle at a caricature image of me in your brain making the ridiculous mistakes I’m about to tell you about.
ANCHOR
Practical outfits tailored for travel
These outfits are tailored for travel when you really want practical and comfortable outfits. This way you can enjoy your trip and not fuss too much over what you are wearing. All of the outfits are casual and basic, but can be dressed up with accessories if you want. Personally, I will wear a hat when necessary and and gloves when really necessary, but I avoid scarves whenever possible because I find them annoying to wear and annoying to carry when I need to un-layer.
I have encountered each of the following temperature ranges during different trips and somehow managed to dress wrong every single time, often because I didn’t actually know what any given temperature felt like in real life. While I can’t tell you exactly how you will perceive a temperature, what I can tell you is that I am a pretty chilly person, so if you’re at all like me then you’ll probably find this useful.
ANCHOR
For 50˚ to 60˚ weather
This temperature is finicky because while it is chilly, you’ll warm up quickly if you’re moving around. You need to make sure you can mitigate excess heat effectively. That means wearing a good sweat wicking base layer and outer layers that are easy to shed and carry with you. My goal with travel layering is to create a system where I will be comfortable from morning through the evening. That means comfortable in terms of body temperature, but also comfortable in terms of toting my layers around if I’m not wearing them.
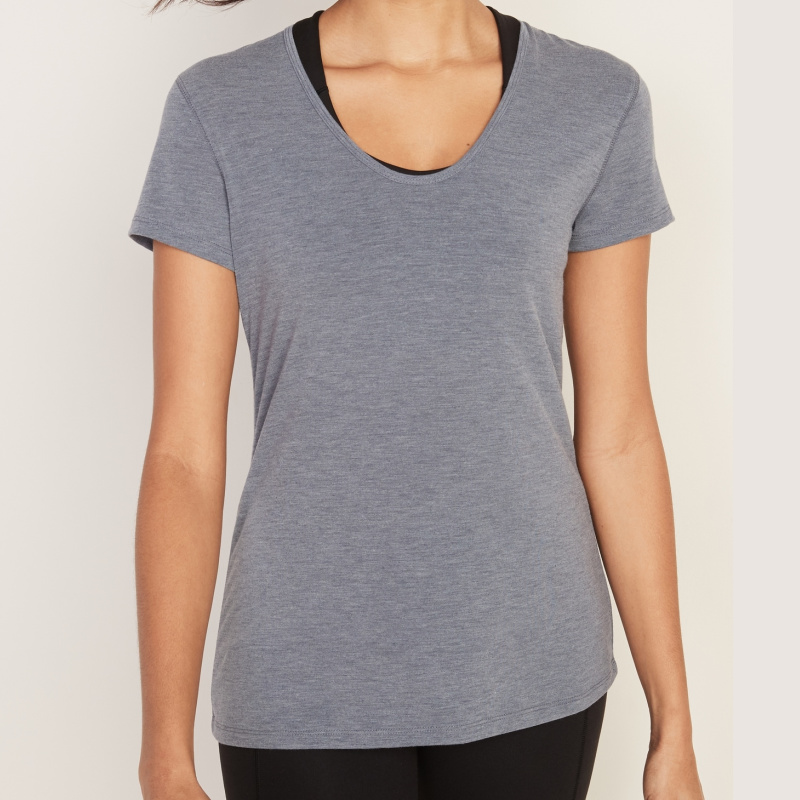 base layer | In the higher end temperature range, it is plausible that I will shed layers down to my base layer, especially if I’m doing any physical activity. But if that’s the case, I might also become sweaty and chilly. Wearing a synthetic, sweat wicking athletic t-shirt as a base layer covers all of my bases. It looks cool when worn alone, and it helps any sweat evaporate quickly and keeps me dry. If it’s on the chillier side, I may substitute with a long sleeve athletic top. The most important takeaway is to look for something labeled “sweat wicking.”
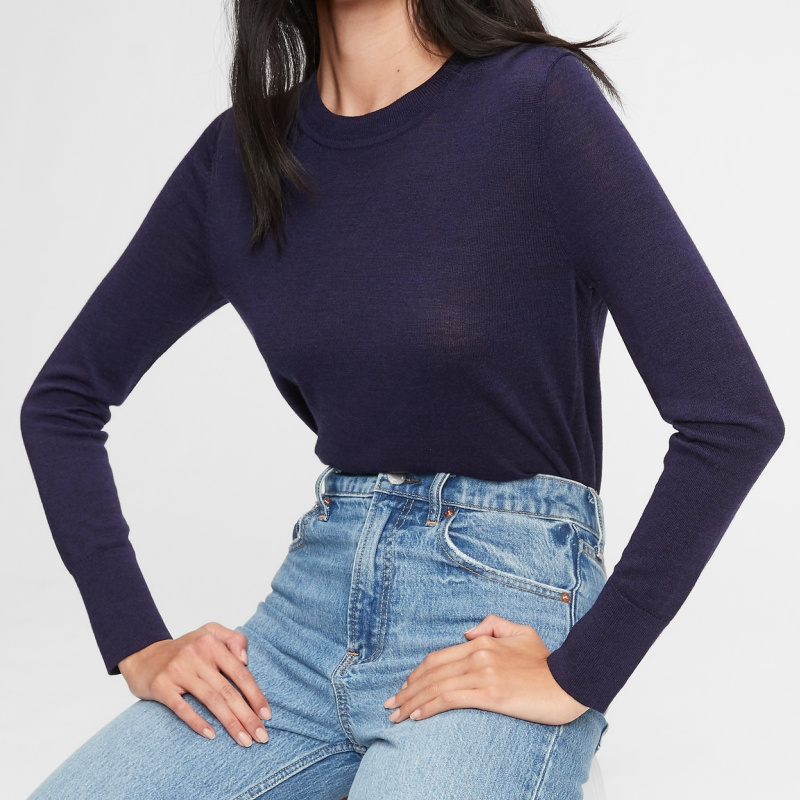 mid layer | For my mid-layer I like wearing a light sweater or sweatshirt. I’ll usually save my nicer sweaters for these sorts of days since they will definitely be out on display at this temperature. Merino wool sweaters look luxe and provide plenty of warmth for their weight. They are also more affordable and easier to care for than you might think. Cashmere is also a popular option.
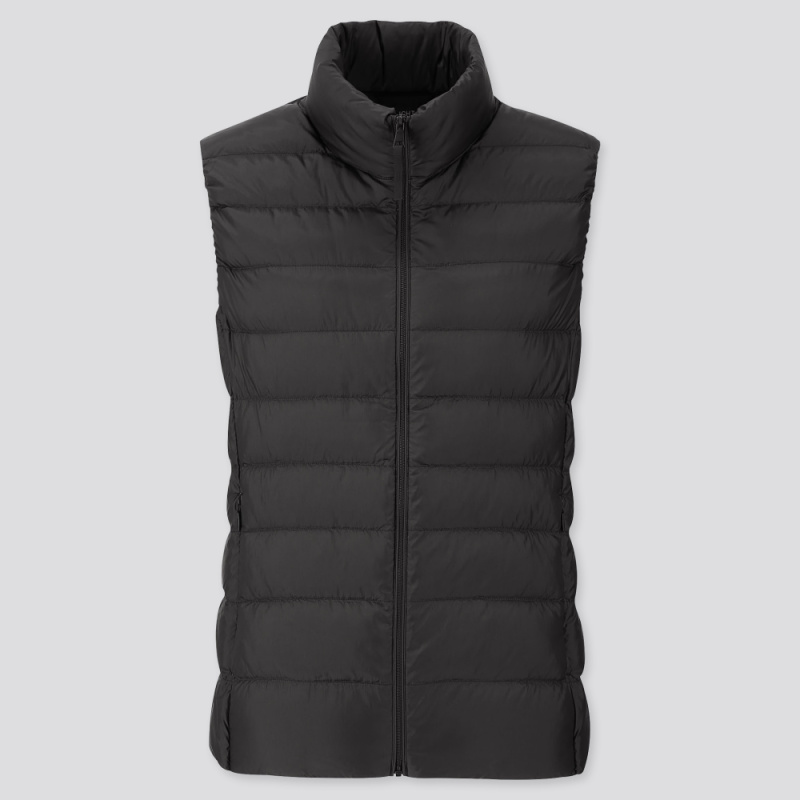 outer layer | I pack two options for my outer layer, a packable puffer vest and a packable puffer coat. As their names imply, both of these options pack down into manageable capsules, making them awesome for travel. I’ll often wear the vest as my outer piece during the day and then switch into the coat in the evening. Or if it get’s really chilly, I can always throw the coat on over the vest. The reason this works is because my first two layers are thin enough that I still have room inside the coat for an extra layer (the vest) without feeling constricted. There’s nothing worse than trying to enjoy a destination while struggling to move your arms because the layers are making you feel like a stuffed sausage.
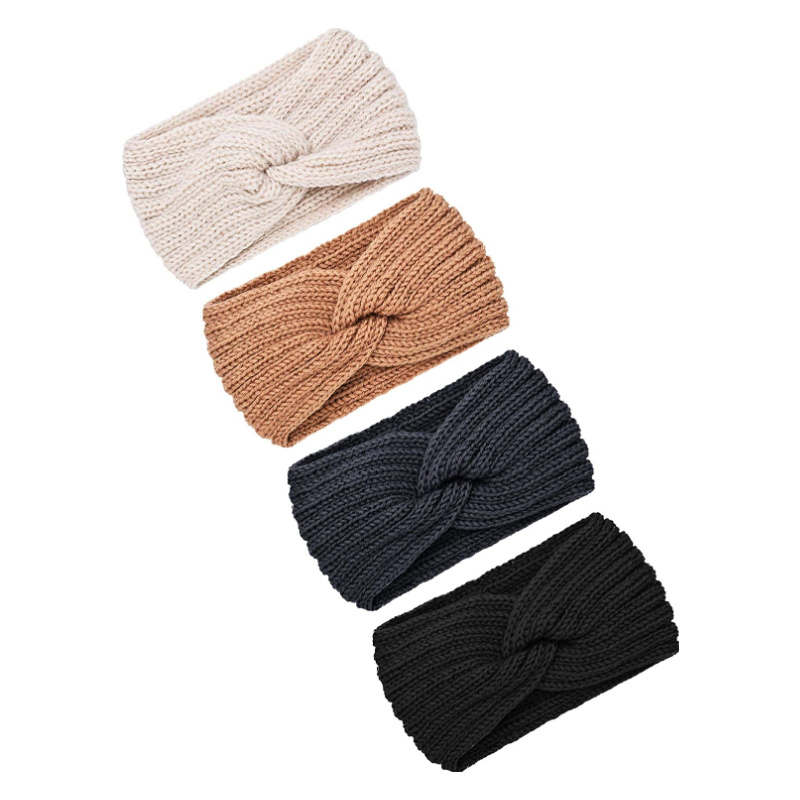 accessories | Sometimes I’ll wear something on my head, and sometimes I won’t. When I do, I’ll typically just wear a knitted headband that covers my ears. (I also have hoods on my vest and coat, if needed.) At this temperature, I don’t yet feel like I need gloves, and scarves are just out of the question for me. (You could wear one for style if you’d like, but you won’t freeze without it.)
Where I Went Wrong Storytime | The first time I traveled to a place a tad chillier than what I was used to, (as an adult making my own clothing decisions,) my plan was simple. I’d wear a long sleeve cotton tee, over that I’d layer a packable down vest, and over that I’d throw on my coat. I’ll call this coat my “Hawaii-cold-weather coat” to help you visualize what this coat looked like. Essentially, it was oversized, it had virtually no insulation, and it featured only 3 buttons as its closure. It was terrible at keeping heat in, no thanks to all the air leaks and skimpy insulation. Regardless, all could have been well had I worn a different mid-layer. However, unsure of what 50˚ was going to feel like, I assumed the vest would be warm enough. After that trip, I made it my mission to layer “more” so that I’d have better insulation. Stay tuned to hear how that theory worked out.
ANCHOR
For 40˚ to 50˚ weather
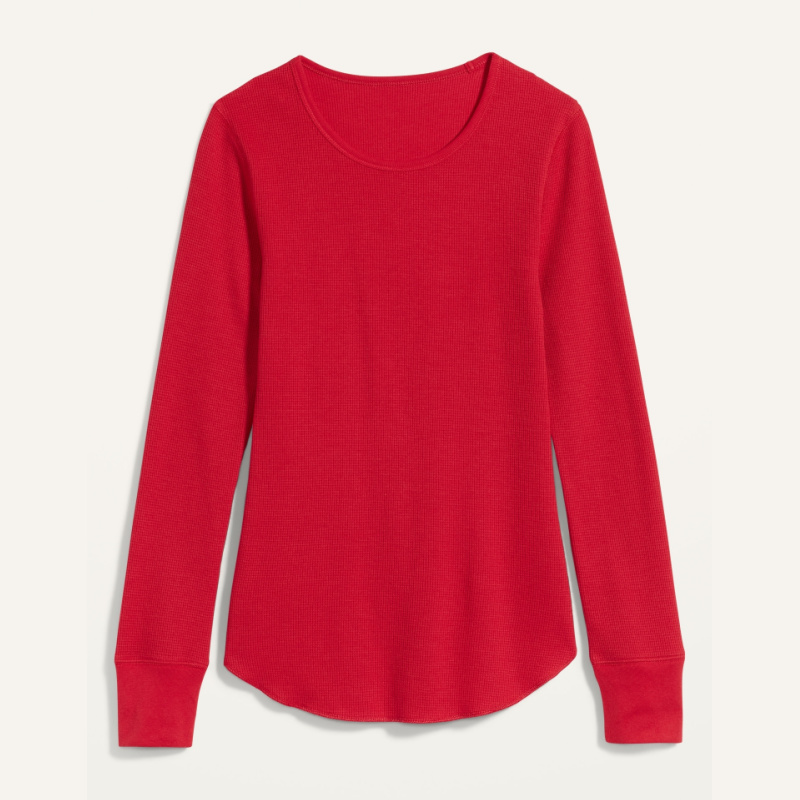 base layer | As temperatures dip, I transition into more long sleeve base layers. I like a relaxed-fit cotton blend thermal for regular “city days” of walking around and going in and out of buildings. The waffle knit thermal is cozy and breathable, and the relaxed fit ensures it still looks like a proper top when worn alone. If I have physical activity planned where I might sweat, then I’ll choose a long sleeve workout top instead. Though, I prefer the cotton blend if possible just because it feels cozier for when I know I’ll stay dry.
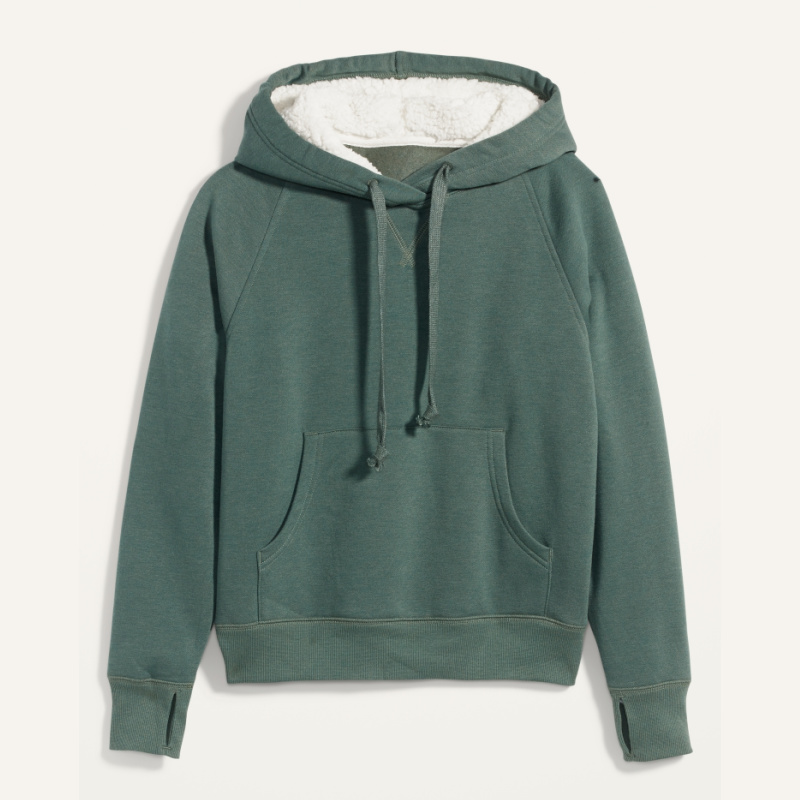 mid layer | For this mid-layer, I like a cozy sherpa pull-over hoodie. My favorite hoodie right now is from Old Navy, and it has a fluffy sherpa lining in the hood only. I’ve been enjoying this style because the thick sherpa hood settles around my neck, alleviating the need for a scarf even as it gets colder. The sherpa lining also makes the hood a bit heavier so it stays atop my head better even in breezy conditions. You could also use a zip-up hoodie, but I find that the pull-over style with a kangaroo pocket is much snugglier.
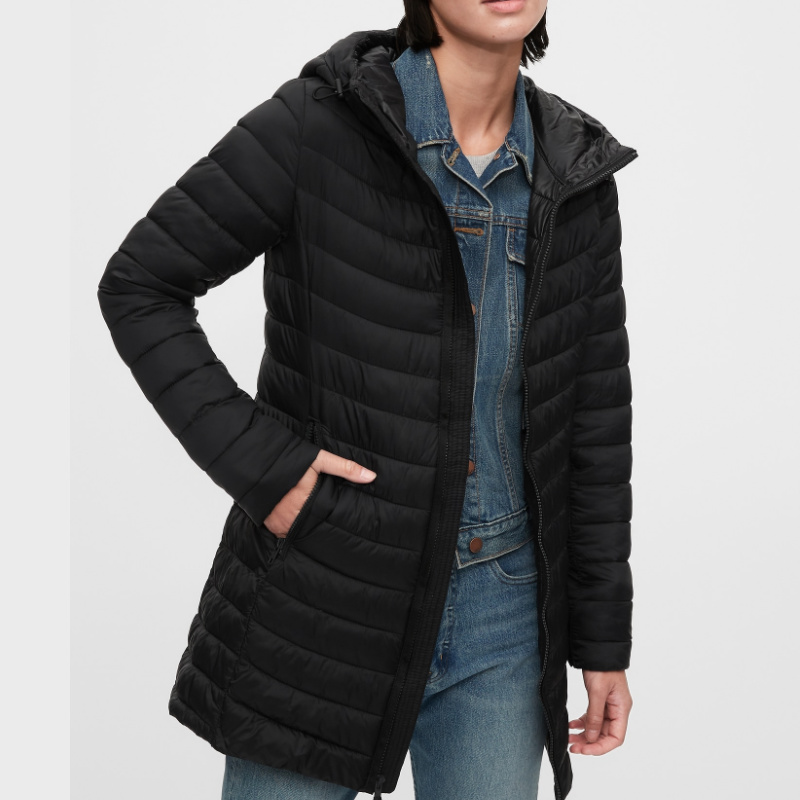 outer layer | I like having options. For a casual day or evening, I prefer wearing my packable puffer coat because it’s durable, water resistant, and exceptionally comfortable. Not to mention, I can simply roll it up into its own pocket and toss it in my bag if I get too warm and just want to wear my hoodie alone. However, if I want to dress up for an evening, I will go for my “wool” coat.
Now, when I say a “wool coat,” I mean that stylistically, not literally. I don’t actually own a genuine, natural fiber wool coat. I live on a tropical island, so owning one would just be ridiculous. (I’m not about to spend that much money on an item I’ll hardly ever wear.) My simulated “wool coat” is from Old Navy, it is made out of polyester and acrylic, and I got it on sale for around $25. But nonetheless, it is looks quite nice and it is surprisingly warm.
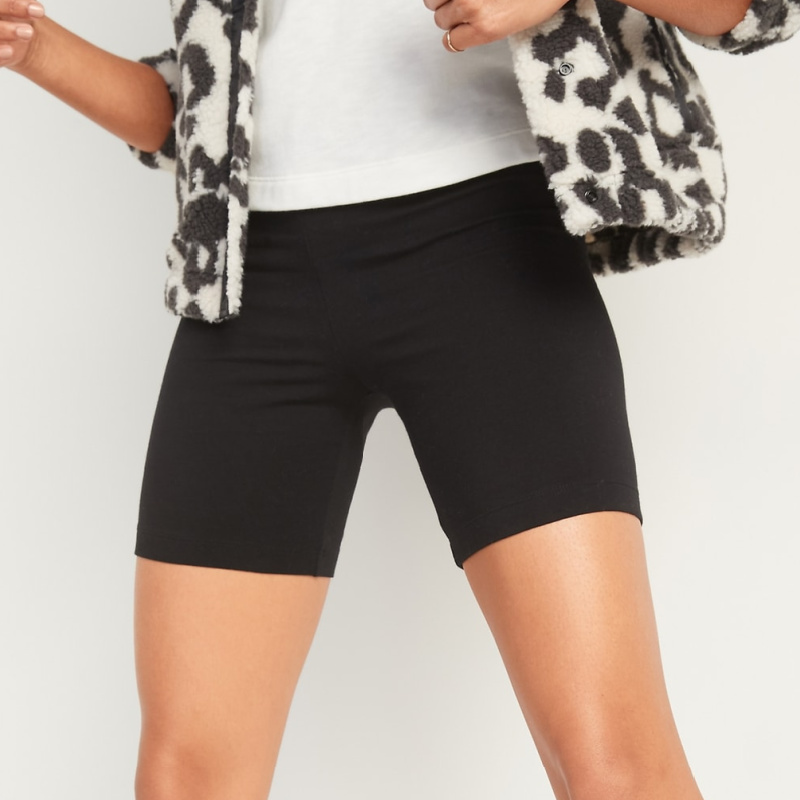 bottom layers | I will wear a single layer on the bottom down to around the low 50’s. Beyond that, I’m thinking about adding a thin layer under my pants. For this temperature range, a pair of opaque tights is sufficient for an under-layer that won’t add bulk to your legs. Sometimes I may substitute a pair of jersey bike shorts if half of a layer sounds just about right.
accessories | I’m still not wearing a scarf, but I am now wearing some light gloves. You will also definitely want to place something on your head. I prefer not having to keep track of more items that absolutely necessary, so I intentionally selected layers with warm hoods I can use in place of a hat.
Where I Went Wrong Storytime | After my chilly trip the previous year, thanks to my lack of insulation, I was determined to not make the same mistake this year. So, I got myself a North Face fleece-lined jacket, butt-covering-length for good measure. “THIS will keep me warm,” I thought, “because it’s from North Face.” Well that year, I learned that brand names do not, in fact, keep you warm. I wore the jacket as my outer layer, with a cotton camisole, a cotton long sleeve tee, and a thin acrylic mock neck sweater all layered underneath. The verdict? The wind whipped right through all of my layers and I was still cold. After that trip, I made it my next mission to layer on “even more” so the wind would be blocked. Sound familiar? Stay tuned to hear how that theory worked out.
FYI, I still have this jacket and I still wear it as part of my layering system. Just not as an outer layer.
ANCHOR
For 30˚ to 40˚ weather
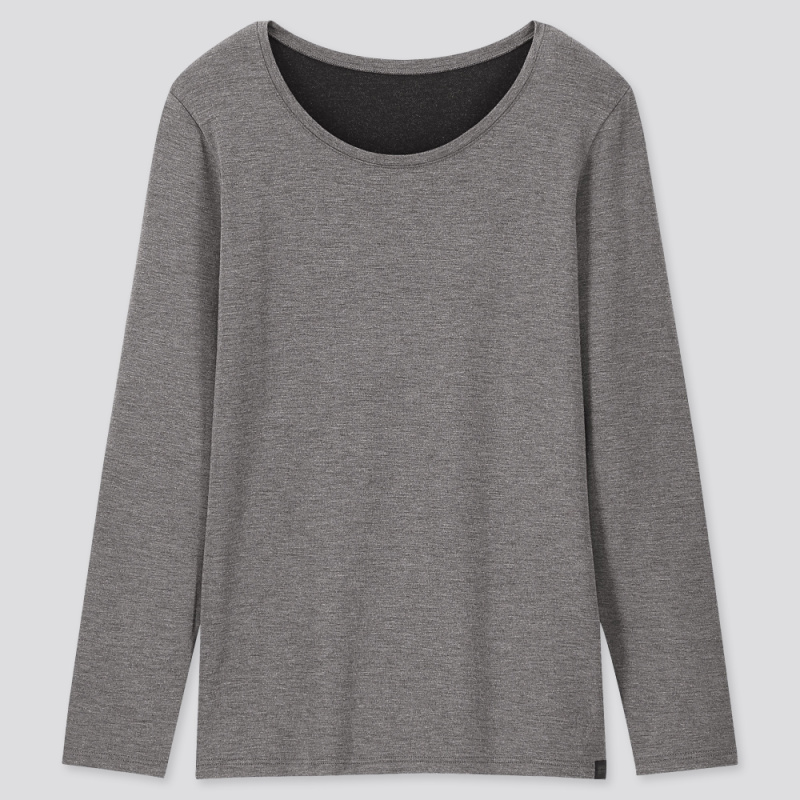 base layer | In the 30’s, it behooves you to wear base layers that are made for this specific purpose. While you still can get away with regular tees as base layers, you’ll find that they just aren’t as warm, and so you may be inclined to pile on more mid-layers than is actually comfortable. I like the Uniqlo HEATTECH Extra Warm Crew Necks because they have a really fine fleecy texture inside that makes it feel snuggly, but isn’t fleece overkill that might be too much for this temperature range. A cotton-blend thermal like the one mentioned above works, too.
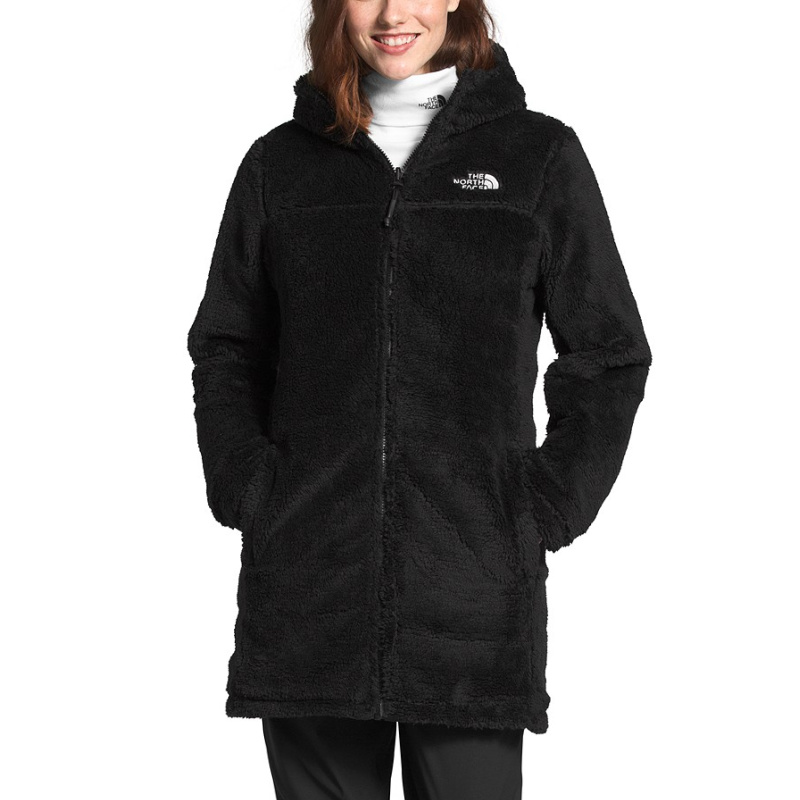 first mid layer | I’m going for a light merino wool turtleneck when it starts getting seriously cold. Like I mentioned above, at this temperature, it’s time to stop fooling around with “regular” clothes and start layering with items that are really made to be warm. Merino wool sweaters are relatively thin, yet they retain heat very well, which is exactly what we want. We want layers that will retain warmth without adding unnecessary bulk, which will constrict arm movement and make our armpits and shoulders angry.
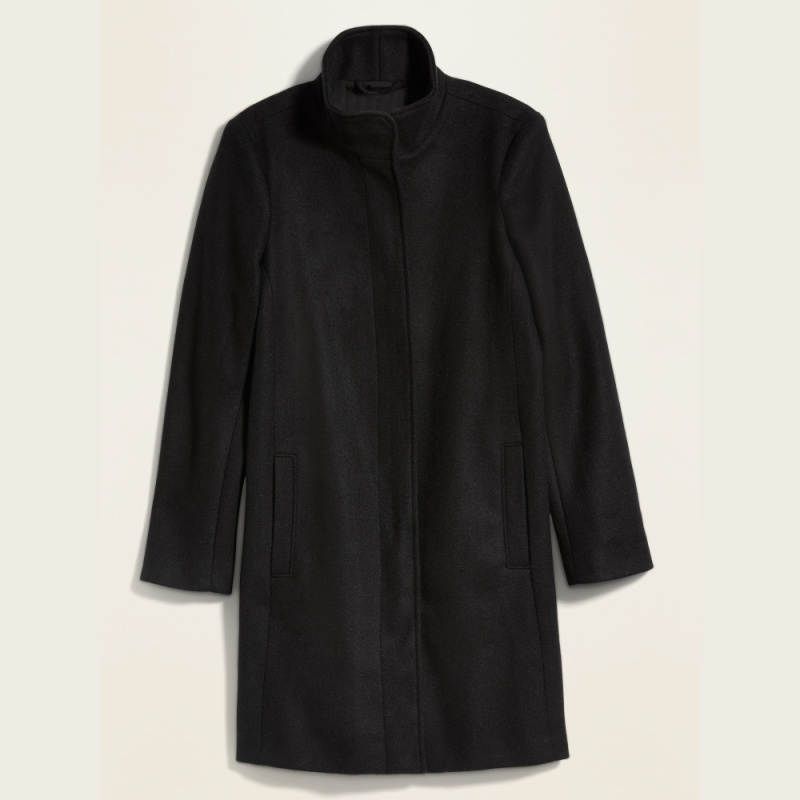 second mid layer | I feel like it’s time to add in a 4th layer when temperatures drop into the low 40’s. For this, I opt for bundling up in my North Face fleece-lined jacket. Yes, the same one mentioned above in one of my cold weather outfit failures. Since then, I learned that fleece is an excellent insulator, but its wind-blocking abilities are non-existent. Therefore, fleece is an excellent mid-layer yet a terrible outer layer. Your second mid-layer should be thicker than your first mid-layer, but not so bulky that you can no longer fully close your outer layer. My North Face jacket is perfectly slim fitting. It’s got just enough room for me to wear my base layer and thin sweater underneath, but zips up into a snug cocoon that outer layers easily slide on over.
outer layer | For my outer layer, I will wear either my “wool” coat or my packable puffer coat. Either of these options will keep me warm, and my choice just depends on how I want to look and feel. If I want to look stylish, then I’ll wear the “wool” coat, even though it is heavier and less comfortable to move around it. If I’m going for pure comfort and flexibility, then I’ll wear my packable puffer coat.
 bottom layers | Use your bottom layers strategically in order to regulate yourself to the perfect temperature. If the top layers I’ve mentioned seem on the warmer side already, then wearing your opaque tights may strike the perfect balance between staying warm but not overheating. Personally, I am very cold-intolerant, so I will upgrade to thin activewear leggings under my jeans or sweats when approaching snow-temps.
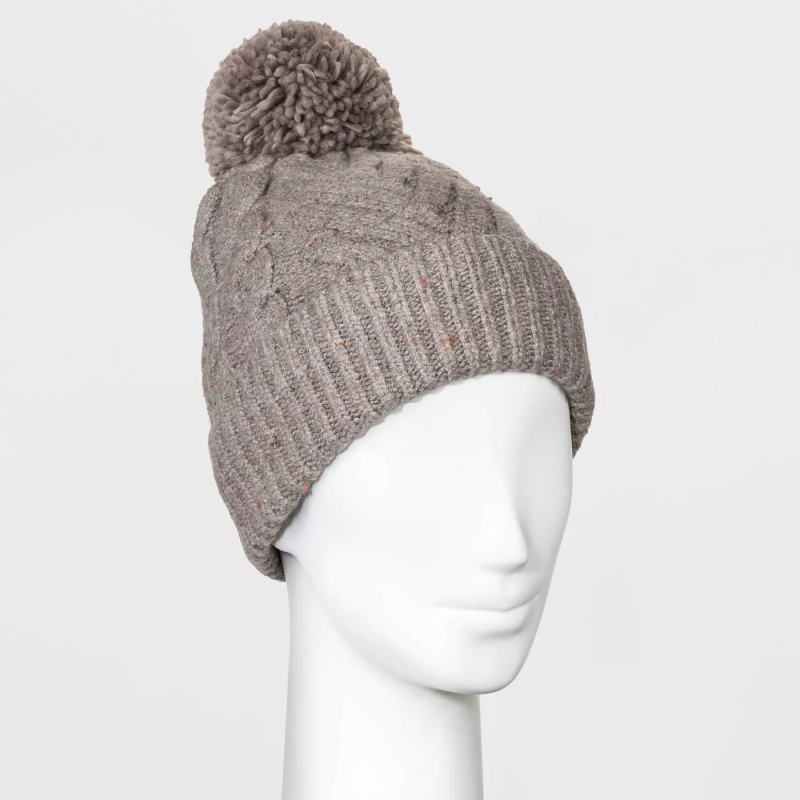
 accessories | I will have a cute knit beanie with a pompom on hand at this temperature. Obviously, the pompom is not a critical attribute, but I think it makes the hat much more attractive. Depending on which coat I’m wearing, I either have only one hood, or no hoods at all. This may not be the case for you depending on your jackets. I recommend keeping at least one or two layers available for head warmth, whatever those may be.
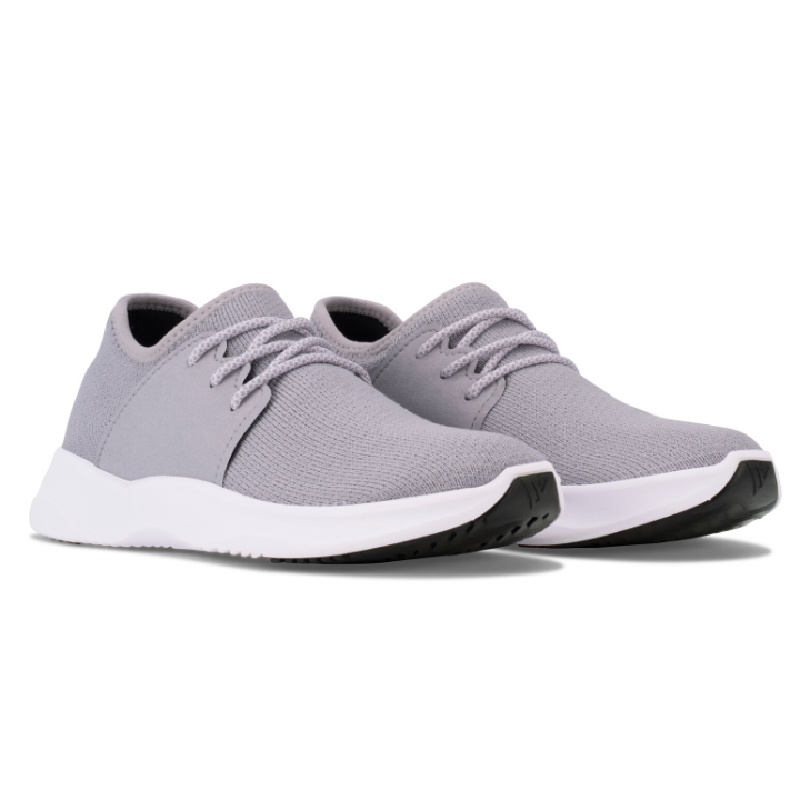
For shoes, I like wearing comfortable sneakers because that’s what I am used to. Waterproof sneakers are a great option because they will keep your feet dry without the heft or commitment of winter boots.
Where I Went Wrong Storytime | I don’t own cold weather boots, and I wasn’t about to buy them just for a vacation. So I just wore my Nike sneakers paired with my usual teeny no-show socks. No surprise, my feet and ankles turned into two pissed-off little icicles. And so I figured the solution was layer on an extra pair of socks. The problem with this is that wearing too many layers makes your footwear tighter and actually restricts blood circulation, causing your feet to feel even colder. That’s the opposite of what you want.
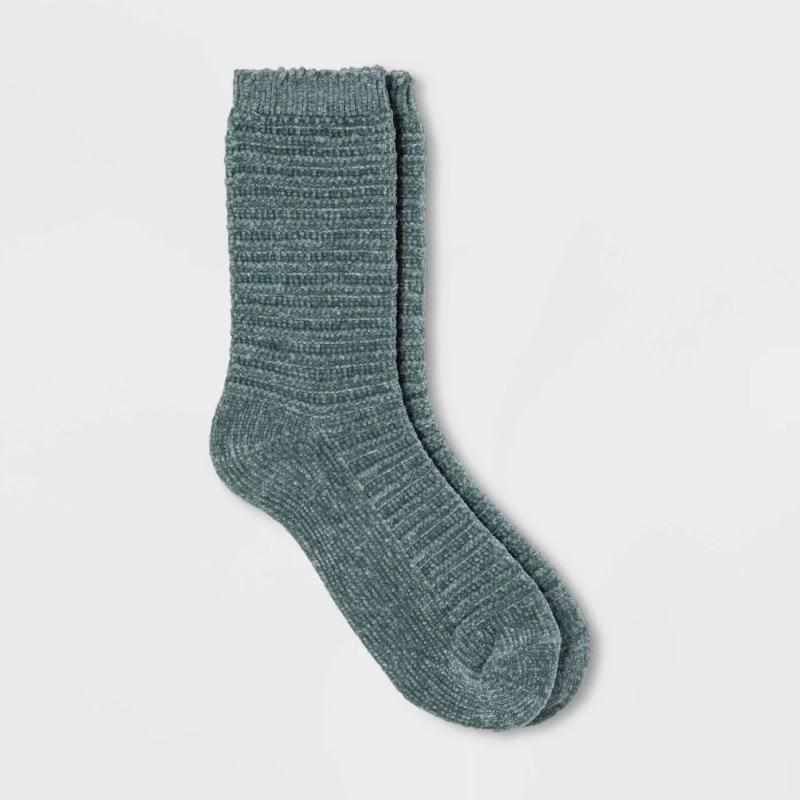
Instead of layering on more pairs of the same everyday socks, get yourself some travel-oriented socks that you can wear on all of your cold-weather adventures, or when it’s cold at home. These don’t need to be expensive, and there are lots of options. For the coldest of situations, I definitely suggest going for wool socks because they will be the absolute warmest. But if you don’t think those are right for you, then you could also choose thicker knitted polyester socks or chenille socks. I personally have both of the later options. They keep my feet infinitely warmer than my everyday socks, and the polyester wicks sweat and keeps my feet dry.
ANCHOR
For 20˚ to 30˚ weather
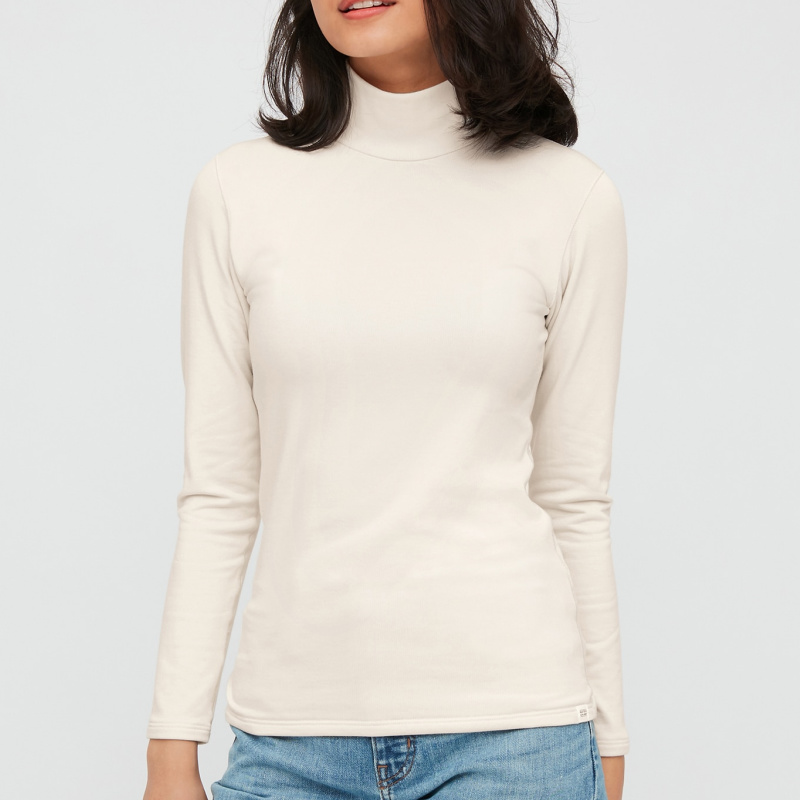 base layer | At this point, I’m pulling out all the stops. Base layers are of utmost importance because the right one will allow you wear the same number of layers as you would in milder temperatures, yet not feel significantly chillier. Uniqlo HEATTECH Ultra Warm Turtlenecks are one of the best options I have found. They are fleece lined, which means extra coziness, and are made from a sweat-wicking synthetic blend. They are also very affordable, which is super import for base layers as you will need to purchase several.
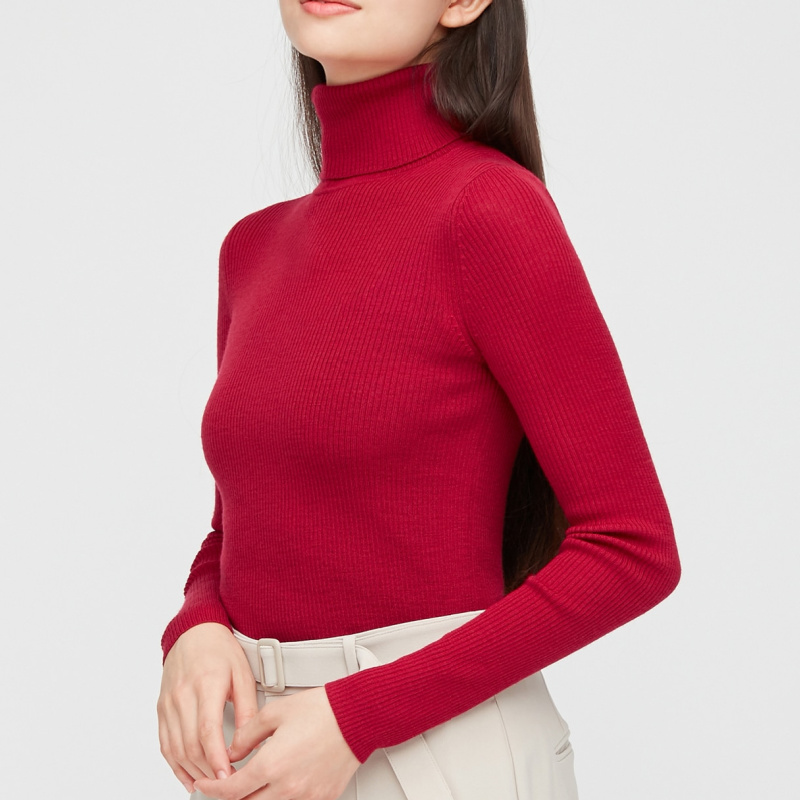 first mid layer | For my second layer I’ll choose either a light turtleneck sweater or a light crew neck sweatshirt. If I am likely to be mostly indoors where I’ll want to remove my coats, then I’ll wear a merino wool turtleneck sweater that covers my base layer turtleneck. If I know I’ll be outside most of the day, then I’ll go with a light sweatshirt just because they are more durable and I want to reserve my nice sweaters for when they will be visible.
 second mid layer | The most awesome thing about the packable puffer coat is its versatility to be worn as an outer layer or as a mid-layer, depending on conditions. In the coldest temperatures, my packable puffer makes the perfect insulating mid-layer. I’ll wear it completely zipped up like a sleeping bag beneath my outer layer.
outer layer | I top it all off with my “wool” coat. When it is especially cold, the thick fabric works as an excellent shield from the wind and cold. That combined with its length and slightly oversized fit really makes you feel protected yet chic at the same time. As opposed to feeling protected because you are wearing a parka the size of an igloo, if you know what I mean.
 bottom layers | On the bottom, I am wearing the same thin activewear leggings under my pants because that’s what I own. If you encounter cold weather frequently, then it may be worth it for you to invest in some quality thermal underwear. The Uniqlo HEATTECH line also contains thermal leggings with the same warming fleece lining as the aforementioned tops.
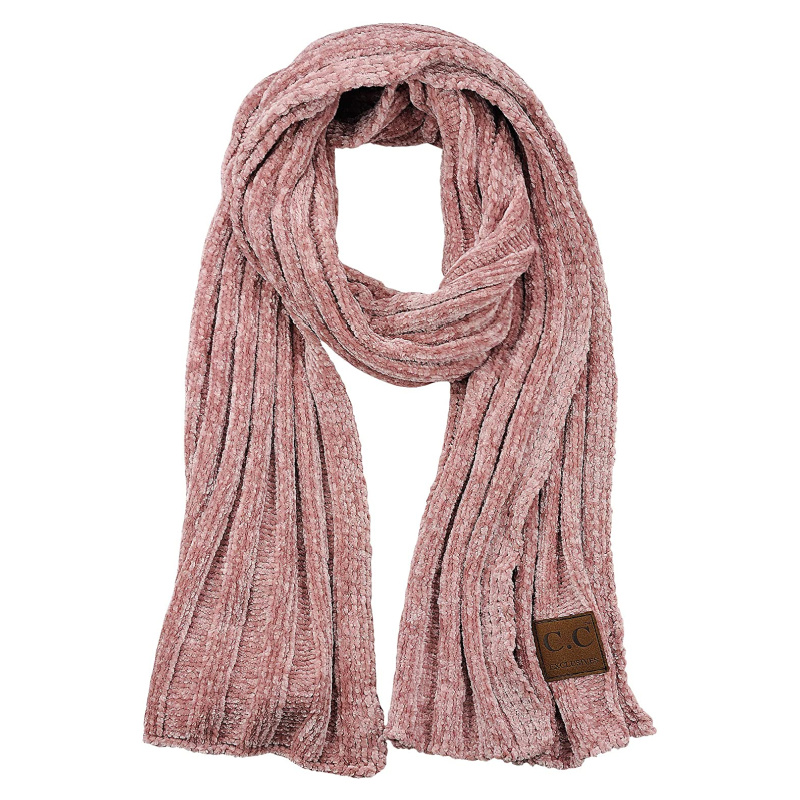
 accessories | As much as I try to get away with going scarf-less as often possible, it is necessary for temperatures this low. A scarf makes a big difference for a seemingly small item, so just wear one, ok? I prefer a scarf made from a chenille fabric because I am very sensitive to scratchy fabrics. I can’t tolerate fabrics that are even slightly itchy near my neck and face. Chenille is super smooth, it doesn’t shed fibers, and is also very cozy.
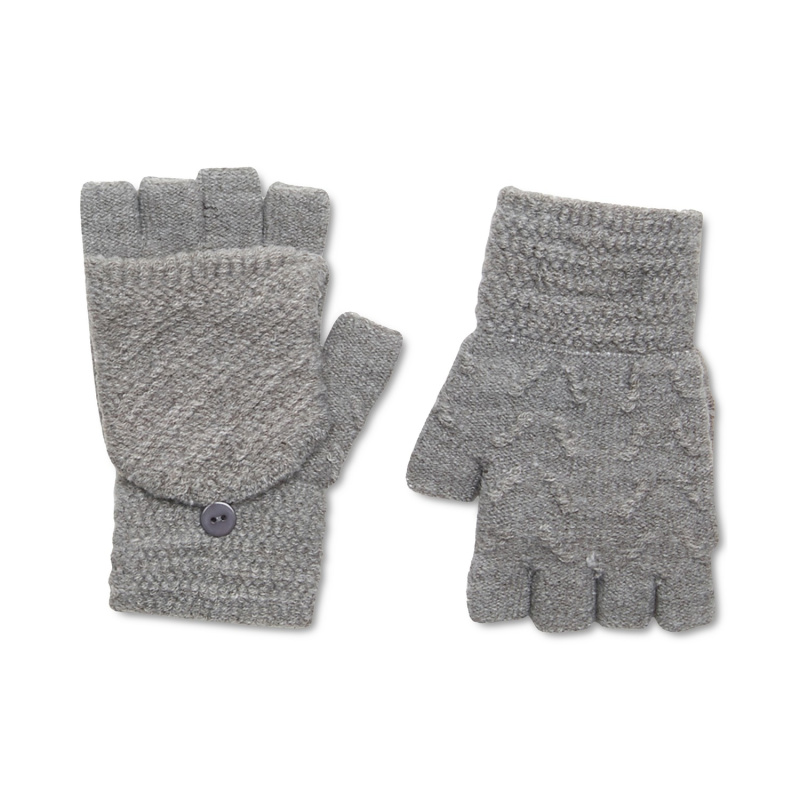
When it gets super cold, the last piece of the puzzle is a cozy pair of convertible mittens. Basically, these are gloves with a little hood that you can pull over your fingers when you aren’t using your hands to keep them warmer. You can get a pair with hooded fingerless gloves, or tech gloves so you can still use your touchscreens.
Layering Tip | Four layers is just about my maximum for optimal comfort. I may consider adding an oversized flannel shirt in between my second and third layers, but only if it is really cold. I’ve never actually experienced cold where I was inclined to do that. Every layer you add decreases your range of motion slightly, so you really want to get away with as few layers as possible. Make each layer count!
ANCHOR
Summary: The Quick List Version
50˚ to 60˚ Layers
Base Layer: short sleeve athletic tee or long sleeve athletic tee
Mid Layer: light sweatshirt or light sweater
Outer Layer: packable puffer vest and/or packable puffer coat
Accessories: knit headband (optional for ear coverage)
40˚ to 50˚ Layers
Base Layer: long sleeve thermal tee or long sleeve athletic tee
Mid Layer: sherpa-lined hoodie
Outer Layer: packable puffer coat
Accessories: light gloves
30˚ to 40˚ Layers
Base Layer: long sleeve crew neck base layer
First Mid Layer: light turtleneck
Second Mid Layer: slim fleece jacket
Outer Layer: packable puffer coat or wool coat
Accessories: hat + convertible mittens
20˚ to 30˚ Layers
Base Layer: turtleneck long sleeve base layer
First Mid Layer: light sweatshirt or light turtleneck
Second Mid Layer: packable puffer coat
Outer Layer: wool coat
Accessories: chenille scarf + hat + convertible mittens
That’s all for now!
If you enjoyed this post, be sure to check out this one ➢ The 3 Best Travel Day Outfits || Stylish + Comfortable Travel Outfits
If you find this post interesting, informative, or just plain entertaining, tell me about it in the comments below! And don’t forget, sharing is caring. Share this post!
Till next time ♥︎
Sign up for my free monthly e-journal, The Millennial Maven Love Letters for exclusive content + millennial inspiration and lifestyle hacks. Plus get instant access to my library of on-the-go style downloads!
Pin This Post!
FTC- Not sponsored by any brands mentioned. I purchase all products myself. All opinions are my own. Some links may be affiliated.


nice arti
Aquaphor Lip Repair is like magic! I don’t go anywhere without it 😀
Me either! Thanks so much for reading, Chloe 🙂 xo
Maybelline mascaras have always been my favourite 🙂
x Vanessa
http://www.flipandstyle.com
We think alike, I see 😉 Thanks so much for reading! xo