This post contains affiliate links. To learn more, hop over to our Disclosure page.
Am I the only one who has been totally obsessed with the sorta-new Tarte Tartelette In Bloom Palette?
I just picked up mine a couple of weeks ago, and I have not put it down since! Like, I take it to bed with me, and then I wake up and I take it to breakfast with me, and then it sits on my desk for me to stare at while I work. Seriously, it’s a problem.
Since I’m so in love with this palette, I’ve decided to create a couple of different looks using it, and this is the first look I came up with. If you haven’t already, check out my Tarte Tartelette In Bloom Palette review!
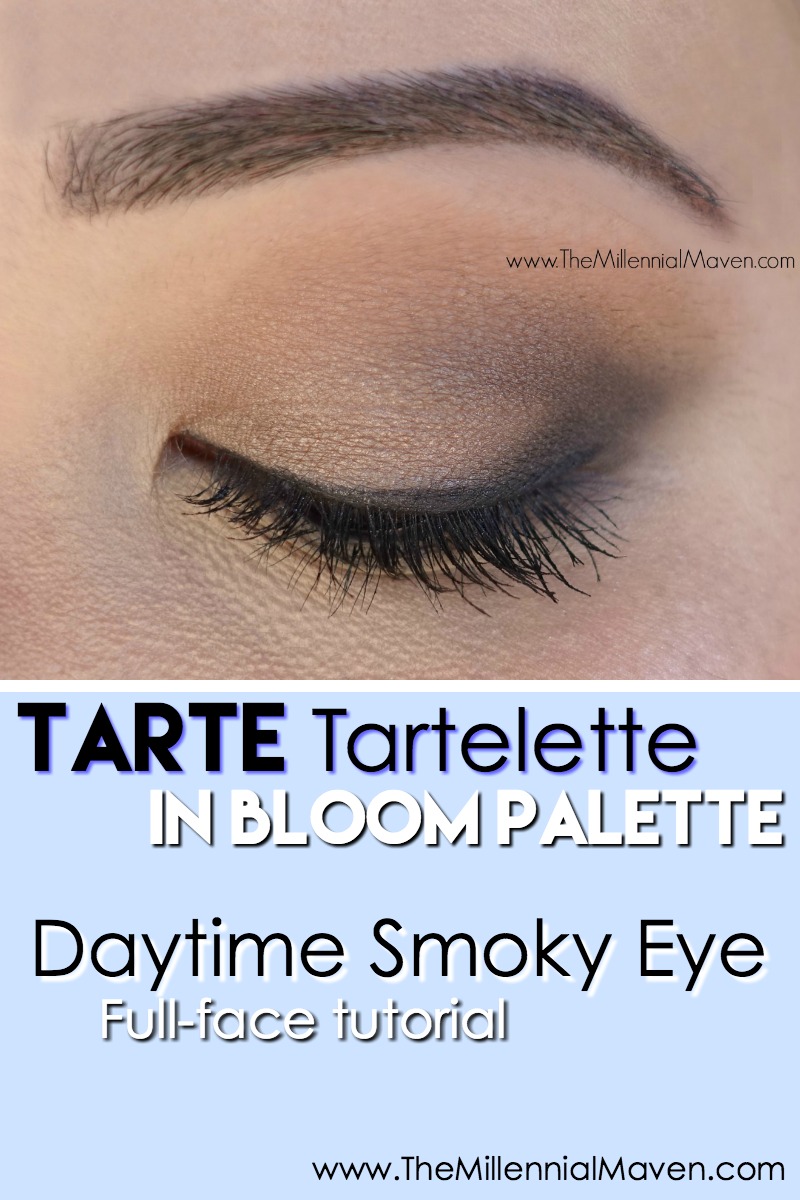
When I see this palette, I see the perfect day-to-night palette. Keeping with that theme, I created a cool, smoky look that can also go from day to night.
Now let’s go to the tutorial!
the EYES feat. Tarte Tartelette In Bloom Palette
Starting with the eyes, I first primed my lids with my Nars Pro-Prime Eyeshadow Base to keep everything in place all day and all night.
I filled in my eyebrows with my L’Oréal Brow Stylist Definer in Dark Brunette. (I have a review on this product too! CLICK HERE to see that one.) Since this brow pencil is a bit dark for me, I like going over my brows with my NYX Tinted Brow Mascara in Brunette to lighten the overall effect.
Nars Pro-Prime Eyeshadow Base >> Purchase at Sephora
L’Oréal Brow Stylist Definer in Dark Brunette >> Purchase on Amazon
NYX Tinted Brow Mascara in Brunette >> Purchase on Amazon
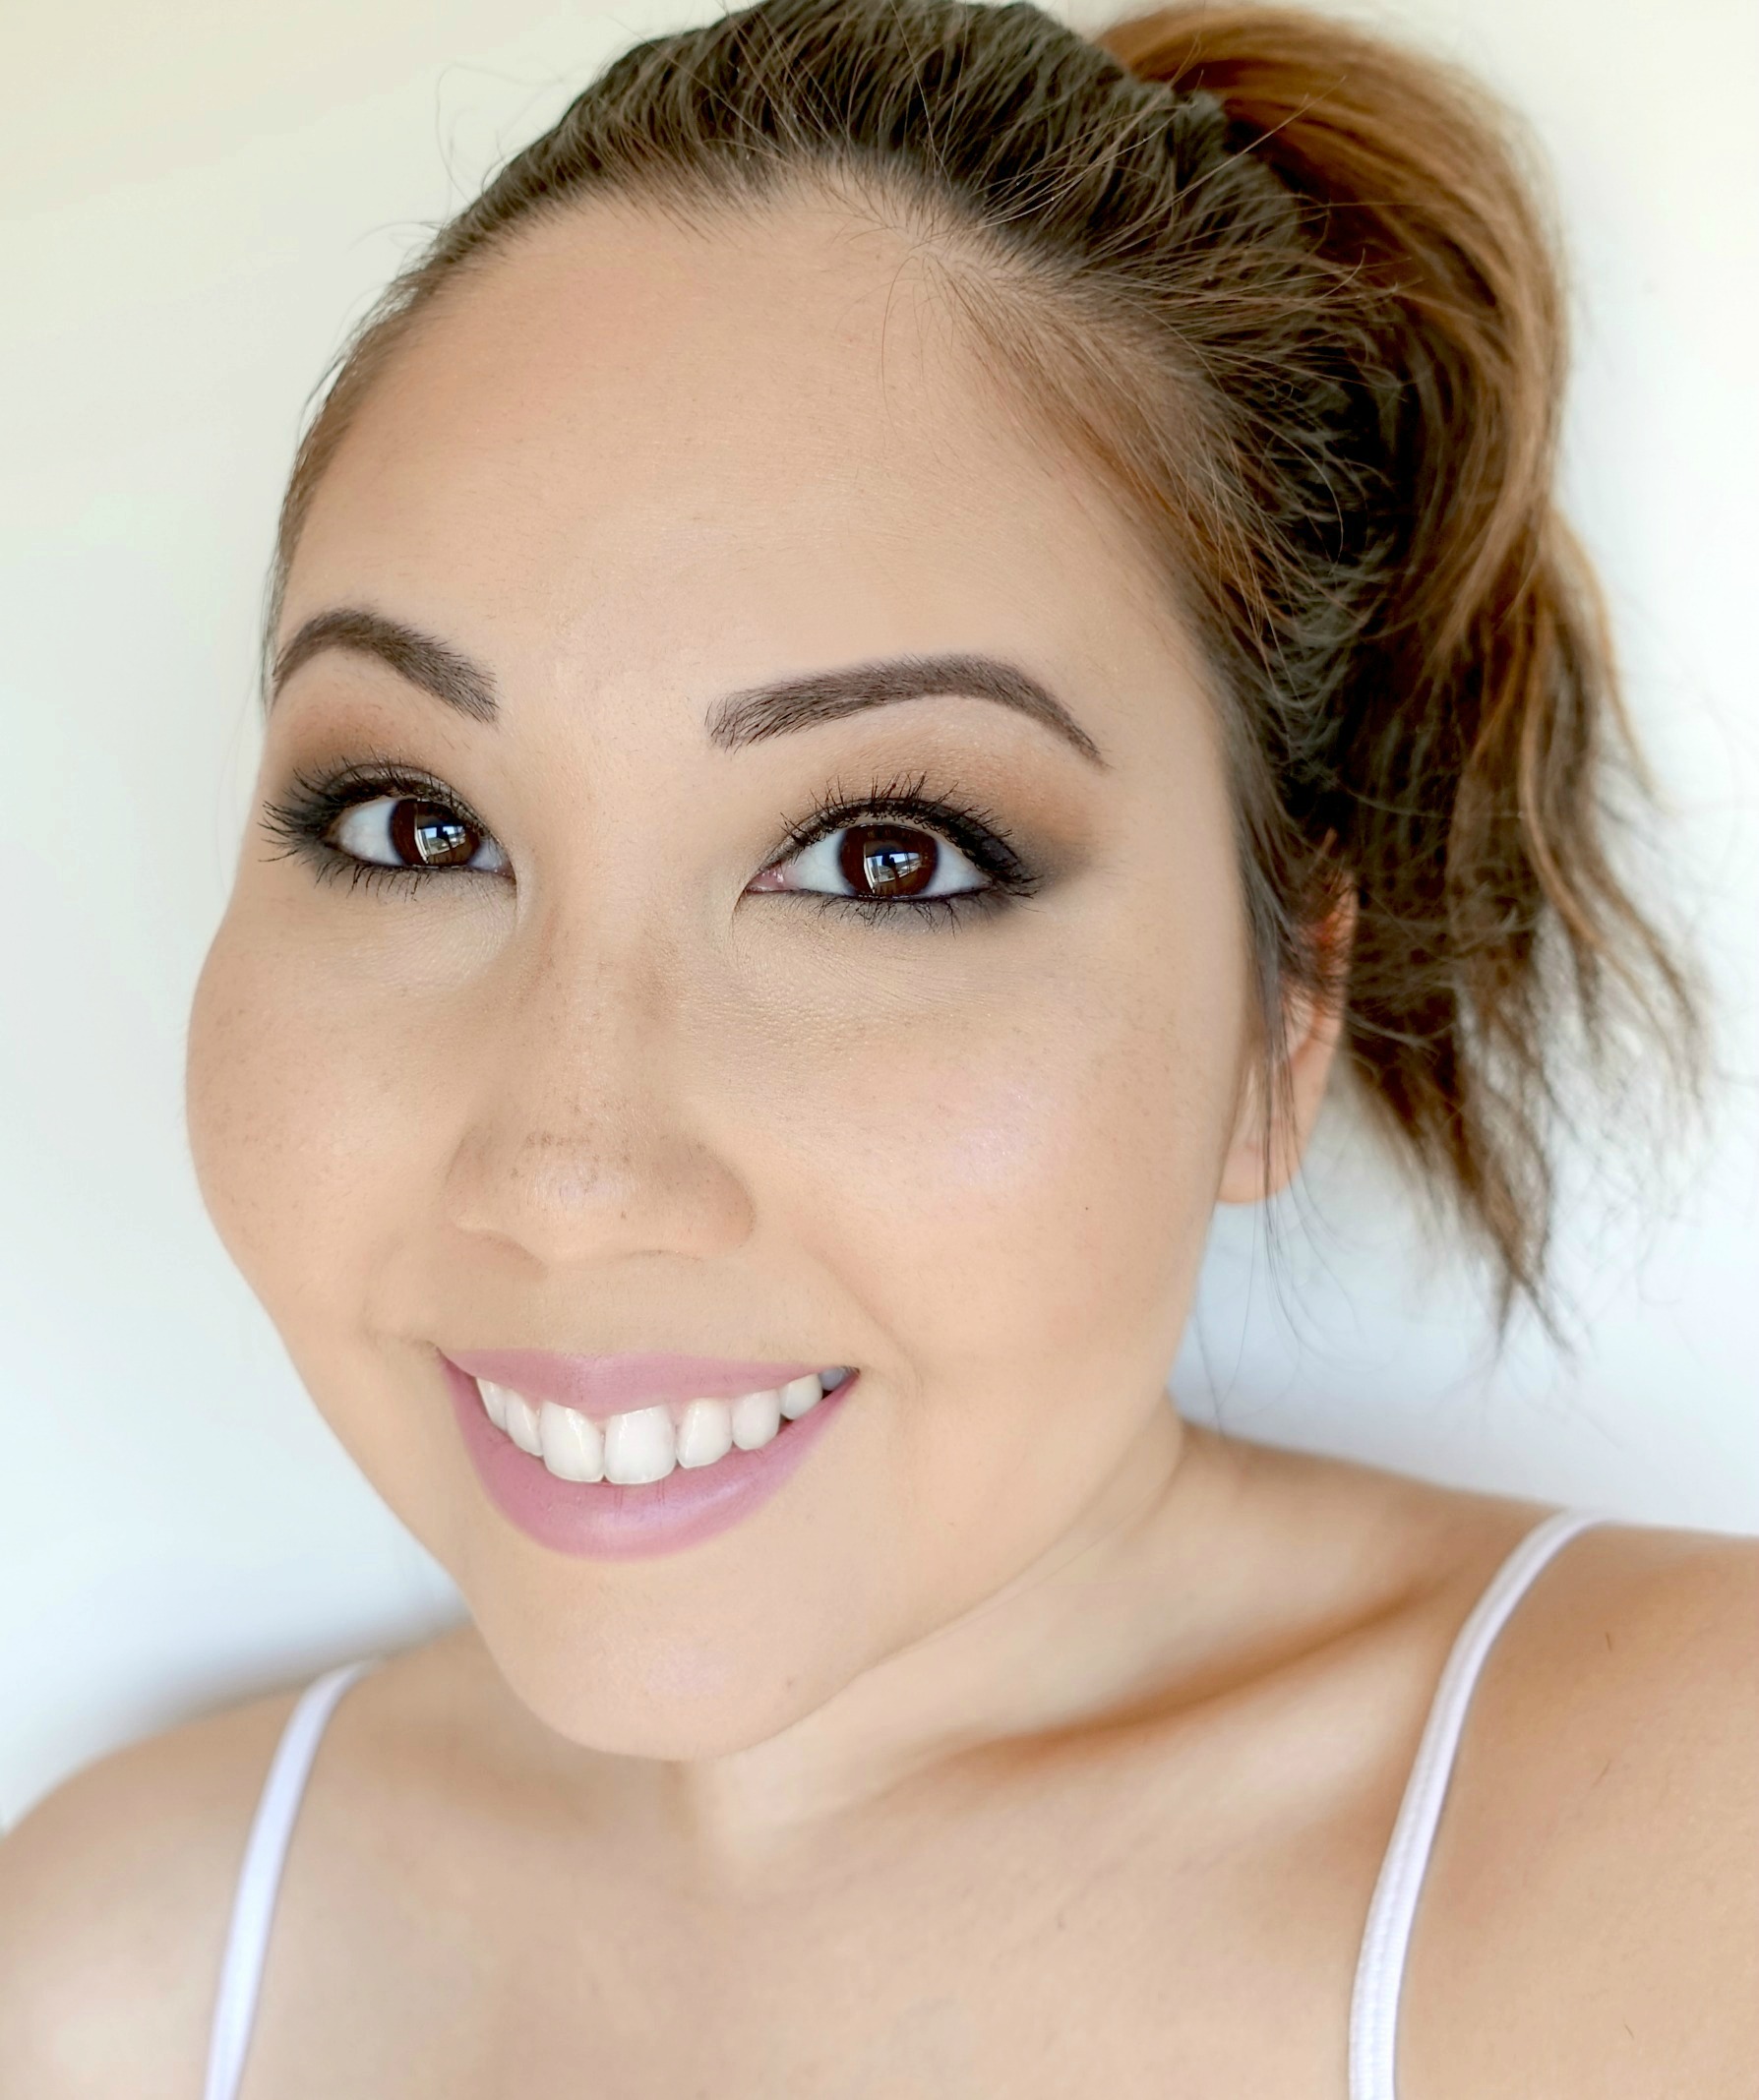
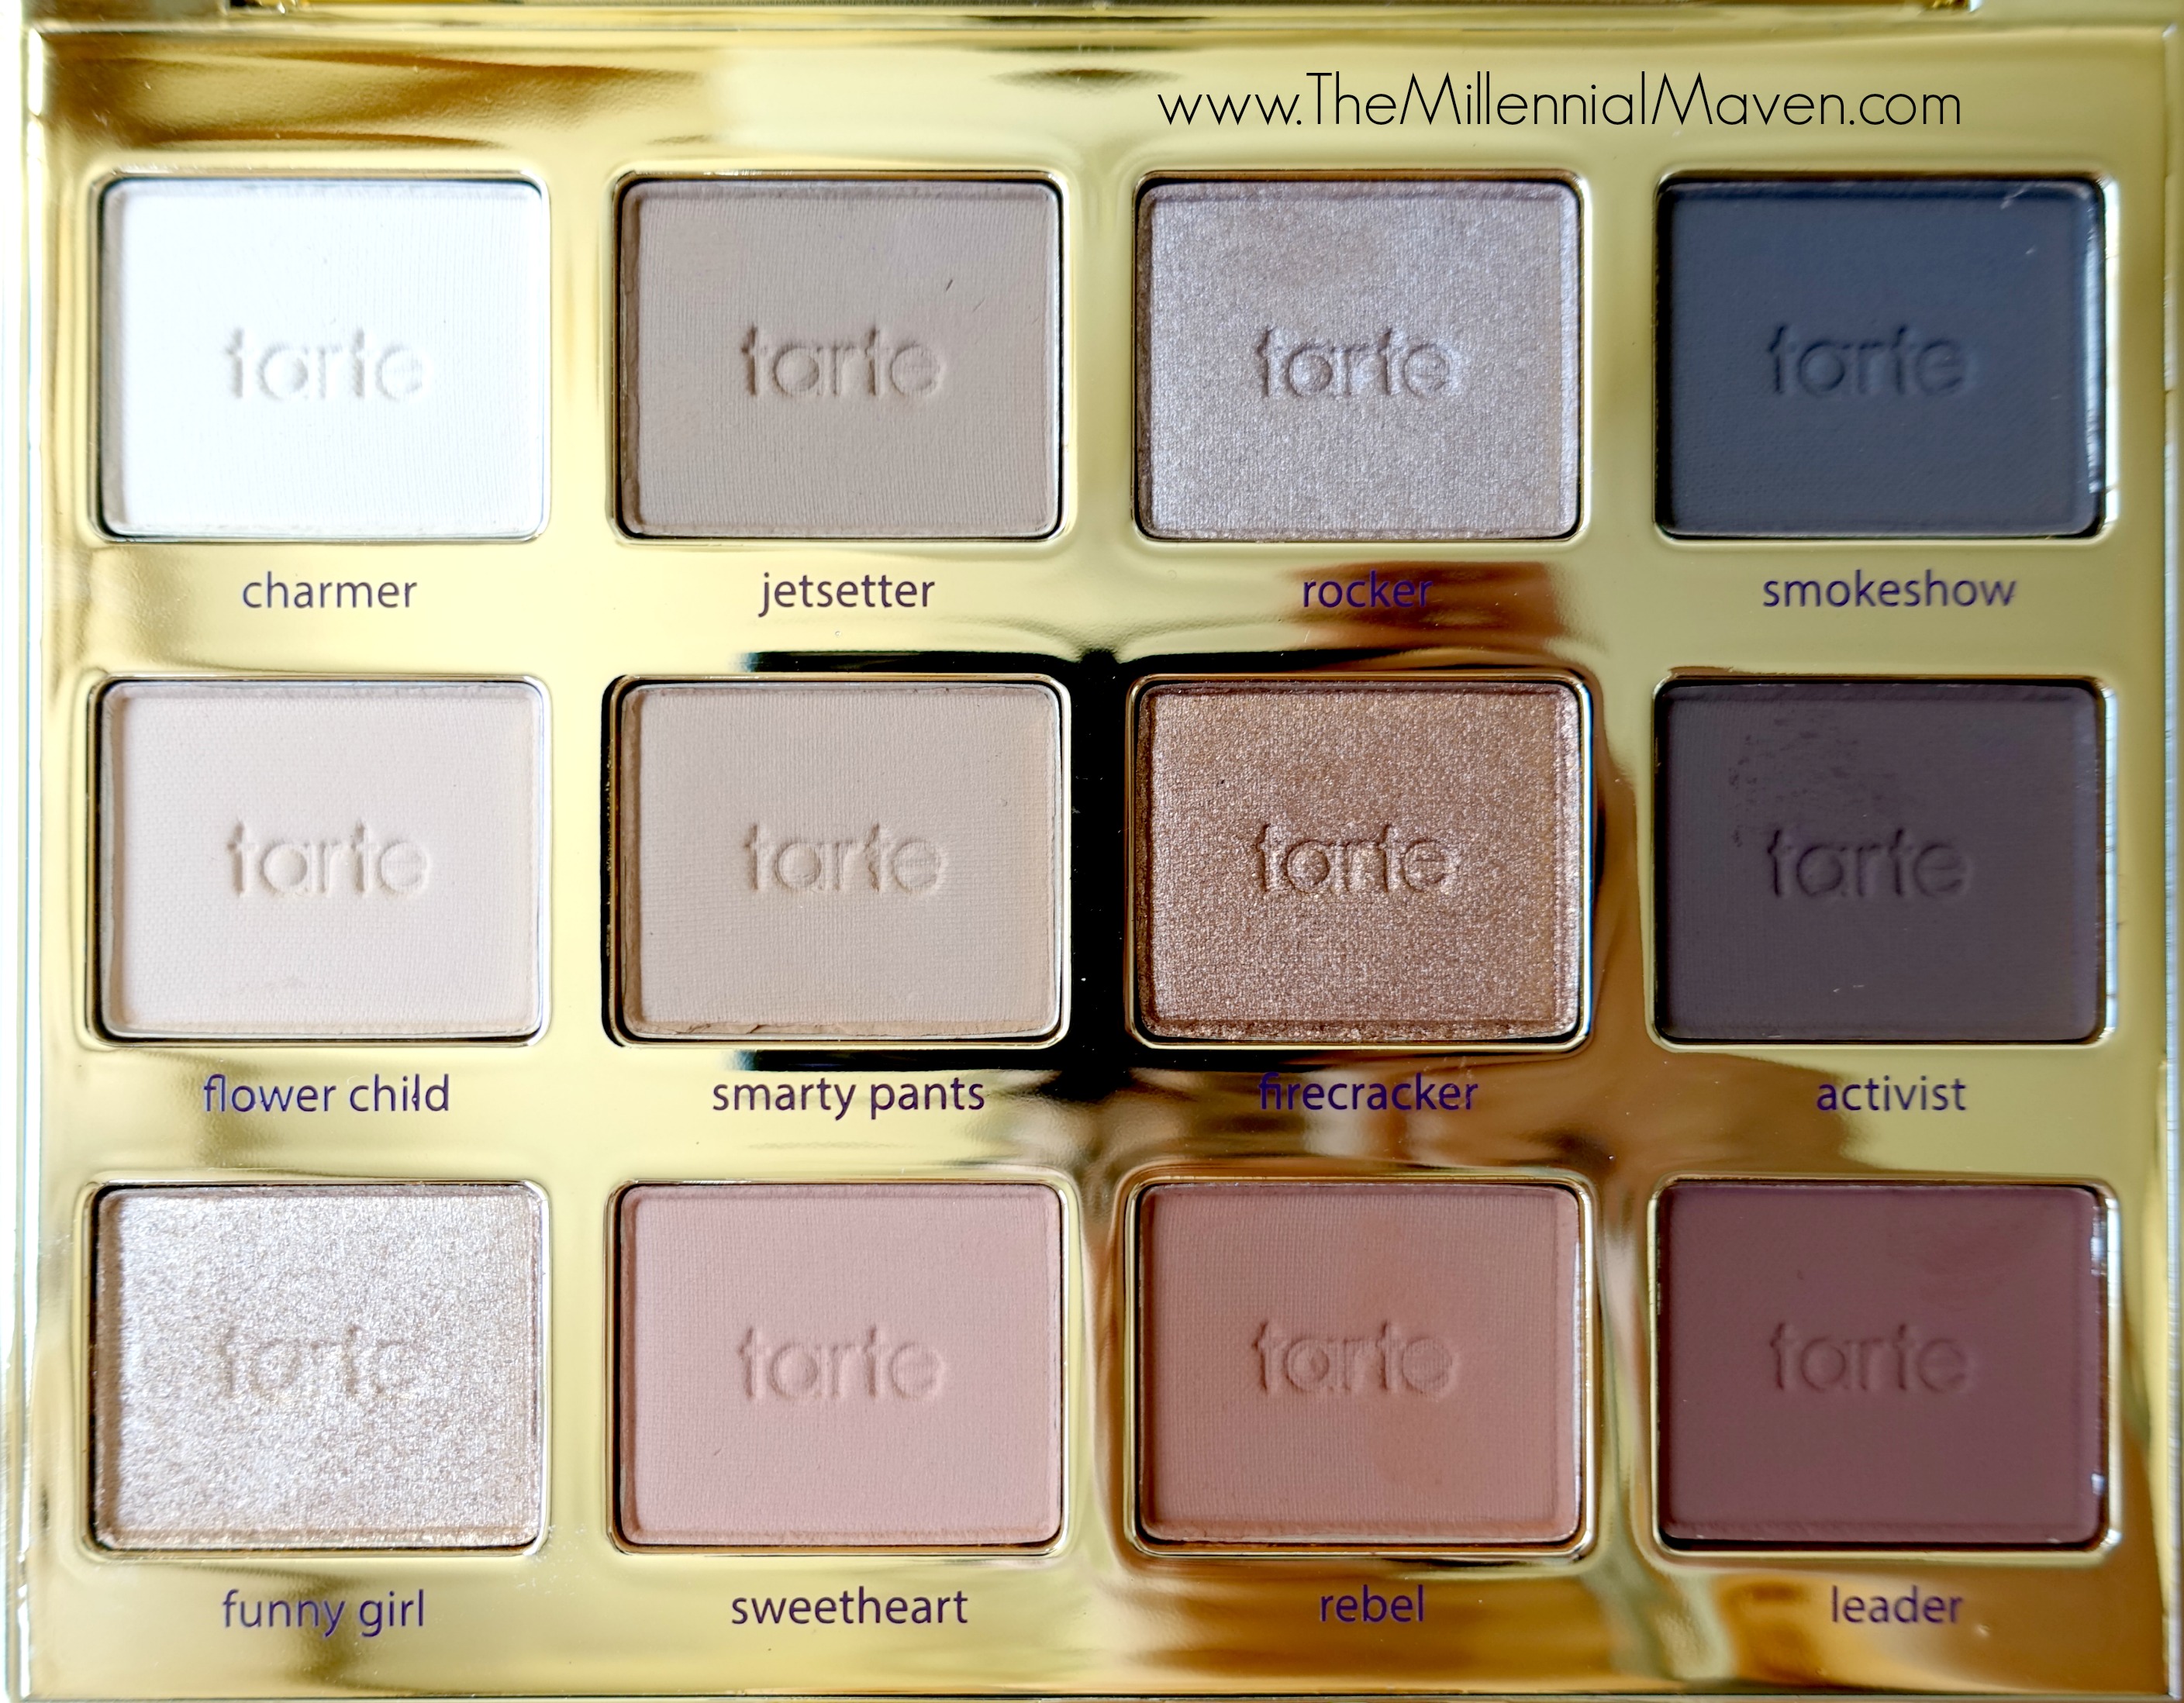
For the eyeshadow, I first went in with Flower Child all over the crease and brow bone with a fluffy brush. I wanted to ensure that everything would stay soft and easy to blend. Next, I picked up Jetsetter on the same brush and applied that to the crease, this time being a bit more precise. I kept this color in the crease, and also blended it slightly outward. This is the beginning of the winged shape we’ll define later.
Tarte Tartelette In Bloom Clay Eyeshadow Palette >> Purchase at Sephora
Once some soft definition was evident, I dipped into Smokeshow with my favorite small pencil brush, and started drawing the winged shape in the outer-V. As shown in the photos, I took the color upward diagonally from about the center of the upper lash line. I intentionally left this area unblended because I wanted it to look somewhat like a wing. I slowly dragged the color outward in the same direction in which I would draw winged liner, and then I started pulling it back in toward the crease.
Although it can be scary, I’ve noticed that this tends to come out better of you can draw the V in one swift motion, rather than going over it multiple times to build up the color. This can tend to make it look messy.
Once the V shape was there, I went back over only the crease section with my fluffy blending brush to diffuse that color into my crease. However, I be careful to not extend the color too far outward, or bring it more than halfway into the crease. The key to a great daytime smoky eye is keeping the smokiness confined to just the crease area.
When I was happy with that, I went in with Rocker on a flat shader brush. Apply that all over the lid, being careful to not go to high up in the crease. Finally, I went back in with Smokeshow to deepen the outer V once more.
I applied my favorite gel eyeliner, the L’Oréal Lacquer Liner in Blackest Black, to my upper lash line, ending the line at the corner of my eye. I skipped the wing to keep this look daytime-friendly, as I thought it would be too much with this eyeshadow.
L’Oréal Lacquer Liner in Blackest Black >> Purchase on Amazon
To finish off the eyes, apply a black liner to the waterline. I used Bella Pierre Gel Eye Liner Pencil in Ebony. Side note: I don’t really recommend this one; there are much better liners out there. Using a small smudge brush, I applied a small amount of Smokeshow to the outer half of my lower lash line. Then using the same brush, I blended over the entire lower lash line with Jetsetter.
To top off the look, I should have popped on an inner corner and brow highlight, but I completely forgot. You should probably do that. But I didn’t forget mascara! For that, I used my Smashbox Full Exposure Mascara in Black.
Bella Pierre Gel Eye Liner Pencil in Ebony >> Purchase on Amazon
Smashbox Full Exposure Mascara in Black >> Purchase at Sephora
the FACE
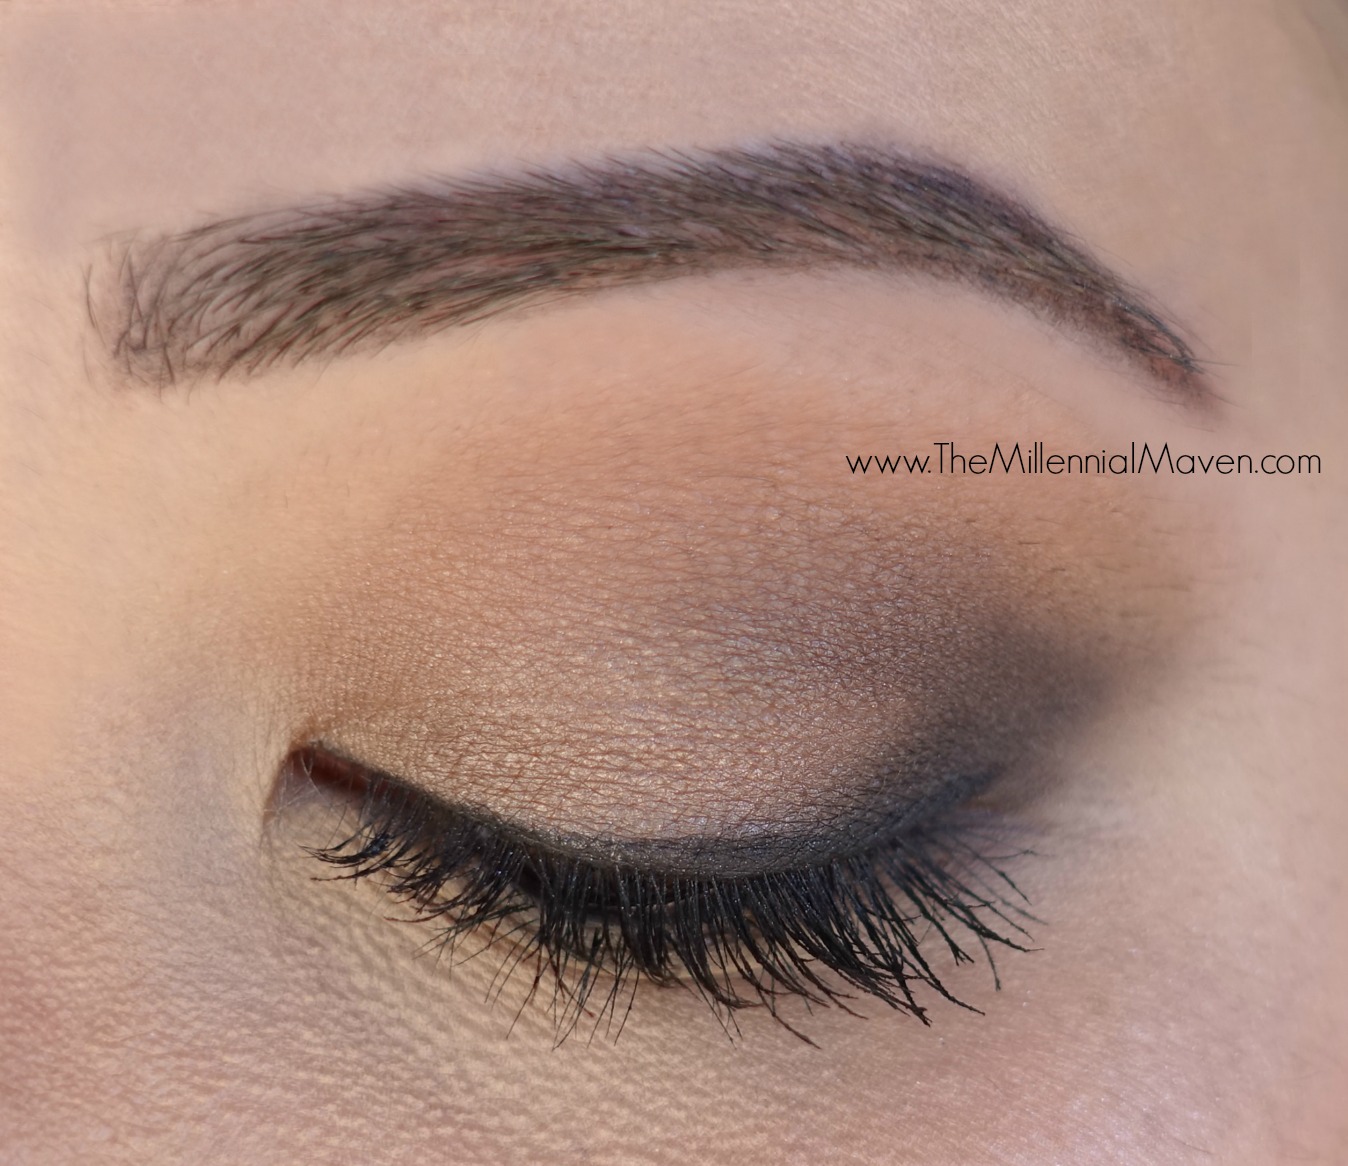
Moving on to the face, I did my typical routine. I forgot to use a primer, (of course,) but you may want to use one if you have any specific issues you want to disguise. For foundation, I used Too Faced Born This Way in Warm Nude. For concealer, I used Maybelline Fit Me Concealer in Sand Sable. To set my face and under eyes, I tried out a powder that it seems like everybody uses but me– Rimmel Stay Matte in Translucent.
For some color, I bronzed my face with Benefit Hoola Bronzer. I didn’t contour because I wanted to keep the face somewhat natural, so I just applied the bronzer to my cheeks and forehead. For blush, I used one from Model Co. in Cosmopolitan, which is just a very basic matte, light, neutral pink. The color really is not obvious on the cheeks, but it gives a really nice, natural flush.
For a subtle highlight, I went back to something I haven’t used in months, the L’Oréal True Match Lumi Powder Glow Illuminator in Rose. I used the lightest color on the left all over my face for a subtle glow. Then, I used a mixture of the remaining three colors on the tops of my cheekbones for an even rosier glow. I thought this looked really nice with my natural blush color.
Too Faced Born This Way Foundation >> Purchase at Sephora
Maybelline Fit Me Concealer >> Purchase on Amazon
Rimmel Stay Matte Powder in Translucent >> Purchase on Amazon
Benefit Hoola Bronzing Powder >> Purchase at Sephora
Model Co. Blush in Cosmopolitan >> Purchase on Amazon
L’Oréal True Match Lumi Powder Glow Illuminator in Rose >> Purchase on Amazon
the LIPS
On the lips, I used my E.l.f. Matte Lip Color in Tea Rose. It is a cool mauve, almost lilac color that goes perfectly with cool-toned eye looks.
E.l.f. Matte Lip Color, Tea Rose >> Purchase at Elfcosmetics.com
That’s all for today!
If you liked this post, check this one out too –> Warm Toned Eyeshadow Tutorial feat. Tarte Tartelette In Bloom Palette.
If you found this post interesting, informative, or just plain entertaining, please leave me a comment below, and remember, sharing is caring!
Till next time ♥︎
Sign up for my free monthly e-journal, The Millennial Maven Love Letters for exclusive content + millennial inspiration and lifestyle hacks. Plus get instant access to my library of on-the-go style downloads!
FTC- This post is not sponsored by any of the brands mentioned. I purchased all products shown myself. All opinions are my own. Some links may be affiliated.

I love the color of that lipstick you’re using! But it does look a little dry. Is it uncomfortable? I love those light, dusty pink colors but I haven’t found one that doesn’t dry my lips out.
Kiersten xo
Hi Kiersten! I love these types of colors too, but yes, this one is rather drying, and I can’t wear it for long periods of time. If you’re looking for something super moisturizing, try Bite Beauty Amuse Bouche lipsticks- they’re amazing! She shade “Sake” is similar, but more pigmented and a bit darker. Hope this helps! 🙂 xo
I like the definition in the eyeshadow. It makes it look more day time appropriate because ti looks less smoky. Not sure if that’s what you were going for, but it looks good!
xx Sheri
Hi Sheri! That is exactly what I was going for! Glad you love it as much as I do. Thanks for stopping by 🙂 xo
Such a pretty look!
Why thank you 🙂
Your skin looks so Gorgeously Fresh!
Thanks girl! 🙂
This palette looks amazing’ And you created such a beautiful look wow
Steph x
mapetitefiche.blogspot.ie
I’m so glad you found this post helpful! Thanks for reading! 🙂