This post contains affiliate links. To learn more, hop over to our Disclosure page.
First came contouring, then came strobing, and now we have… non-touring?
Just the name itself sounds a bit ridiculous, because after all, doesn’t “non” mean you’re not doing something, so how is this a thing if it’s something you’re not doing…
So what is non-touring anyway?
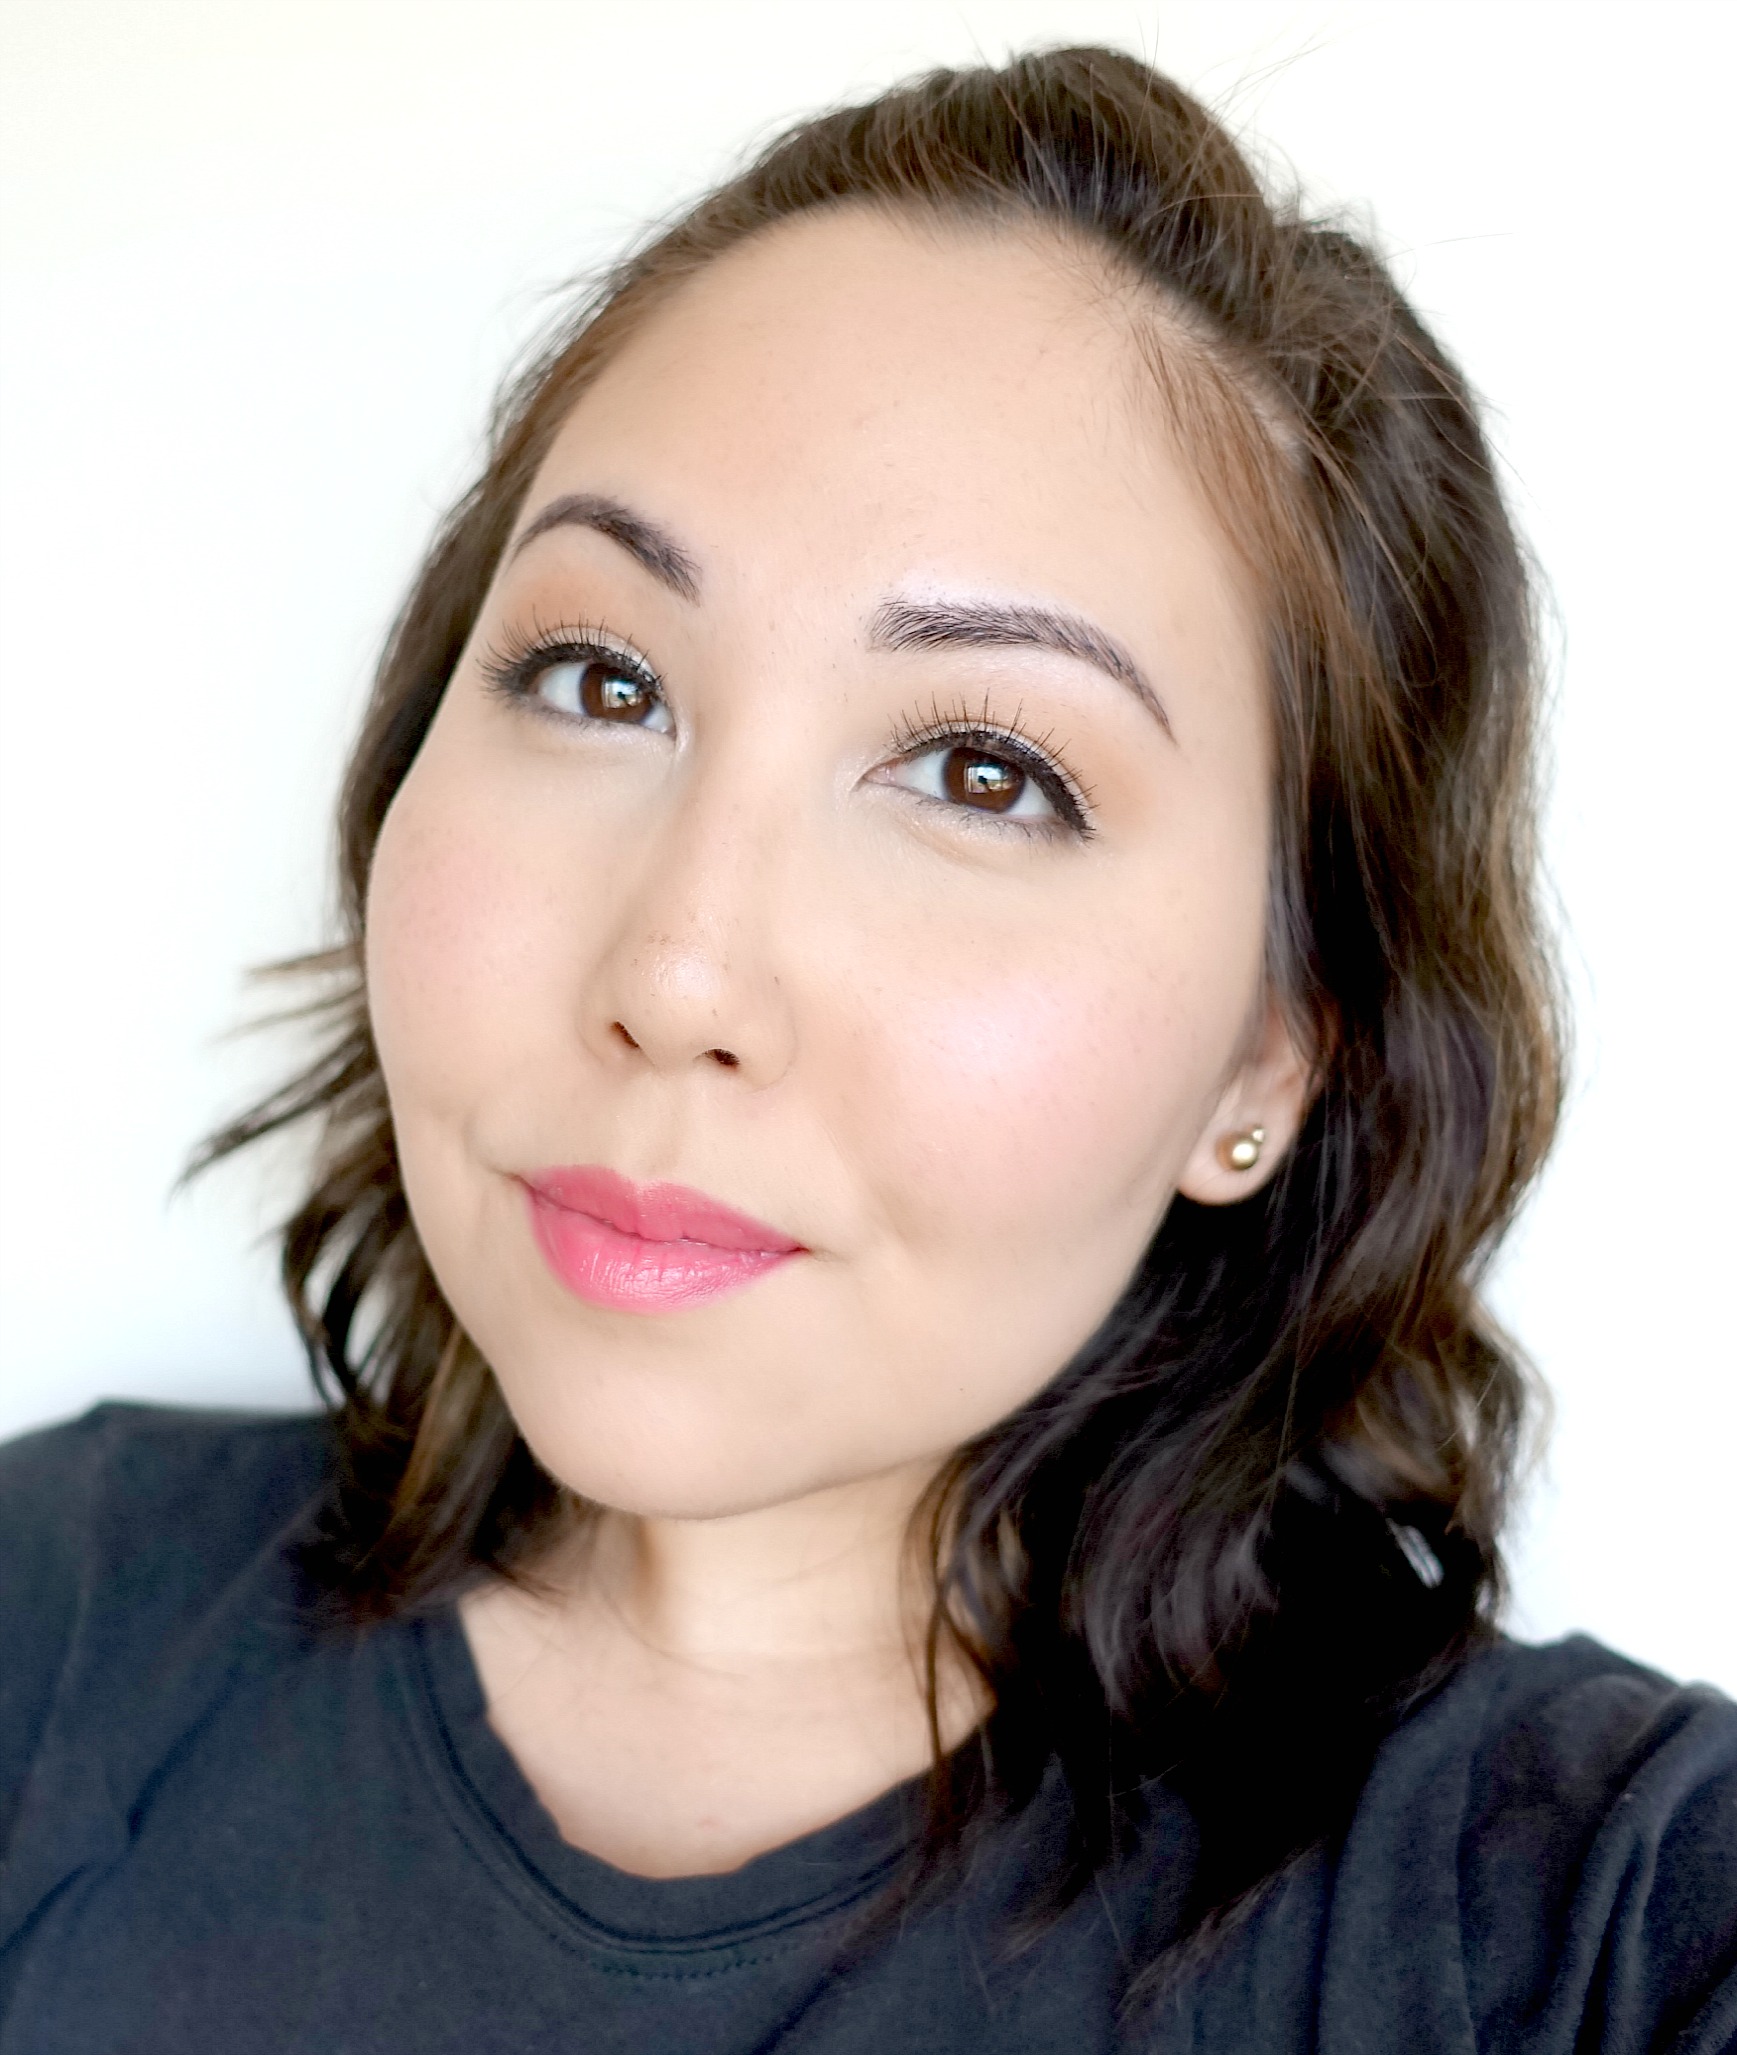
Non-touring is essentially highlighting the skin to give it that dewy, “lit from within” glow that makes your skin the star of your makeup look. The idea is that there is no need for chiseled cheekbones, heavy bronzer to simulate a fake tan, or highlighters so shiny they can be seen from Mars. Instead, products are used in a way that showcases the natural radiance of your skin.
While contouring and strobing seek to chisel, define, and spotlight certain areas of the face in order to basically reshape the face into something quite different than it naturally is, non-touring seeks to make your skin look its best, without making you look like a whole different person.
I suppose that in a way, the name “non-touring” does make sense, as it is basically the opposite of what we have come to know and love in the age of “Instagram makeup.”
As Renee Sanganoo tells Marie Claire, “It’s kind of like Spanx for the skin.” So instead using a corset to completely reshape your body, a la contouring, non-touring simply gives your skin that extra boost without looking like such a dramatic change. Does that analogy make sense? I hope it does.

The truth about non-touring
Yes, the goal is to look “natural,” but that doesn’t mean the look can be achieved the natural way. By that I mean smearing four fool-proof products on your face and calling it a glamorous day.
When I tested out different ways of achieving this look, I ended up using about twice as many products on my skin as I normally do. Yes, even more than when I’m doing a full face glam look with sharp contouring.
My skin has been leaning towards combo lately. I still deal with an oily t-zone, but my cheeks, under eyes, and around my mouth has been dry, flaky, and crackly. In order to achieve the perfect, healthy, uniform glow, I had to deal with two completely separate skin issues.
The good news is that this is definitely doable on most skin types, as I got my dry patches looking supple, while giving my oily t-zone a pretty dewiness minus the oil slick. The bad news is that it took a lot of products to balance them out, and there was even one product that I didn’t have, but if I did have it I would have used it. We’ll get to that in a bit.
My ideal non-touring products + the steps
Since I am dealing with both dry and oily skin, I have products for both here. If you are one or the other, then you won’t need everything, but if you’re combo like me, then get ready.
the Base
- After applying my normal moisturizer, I dabbed on a small amount of Smashbox Primer Oil onto my dry areas. This included my cheeks, around my mouth, and under my eyes.
- Then I applied a thin layer of Cover FX Illuminating Primer all over the face, focusing on the “highlight zones,” on the cheekbones, the middle on the forehead, down the nose, cupid’s bow, and on the chin. This gives a gorgeous shine to the skin that looks etherial, but not at all greasy.
- For a base, I used my Urban Decay One & Done (Check out the full review by clicking here). This provides a very light layer of coverage, but it does a great job of blurring imperfections and making your skin look ultra perfected. (I don’t actually know what to call this, maybe a tinted moisturizer?)
- To cover any spots and make my skin look flawless, I dabbed on Make Up For Ever Ultra HD Stick Foundation just where I needed it. I chose this over a concealer because it offers outstanding coverage without looking like a paint touch up on your face. The finish blends beautifully into the skin, and is practically invisible.
Smashbox Photo Finish Primer Oil >> Purchase at Sephora
Cover FX Illuminating Primer >> Purchase at Sephora
Urban Decay One & Done Hybrid Complexion Perfector >> Purchase at Sephora
Make Up For Ever Ultra HD Stick Foundation >> Purchase at Sephora
- For this look, you don’t want to go too light with your concealer. If you do, you’ll start drifting back into contour-land and the result won’t look as natural. I used my Urban Decay Naked Skin because it is the perfect not-too-light shade, and I can trust it to not crease or fade. I applied it just under my eyes to cover up any darkness, and I didn’t blend it too far down or outward. Remember, think natural!
- Since I do have oily areas, setting at least my t-zone is a must. I used NYX Color Correcting Loose Powder in Lavender to set my under eye concealer. I also set my forehead, nose, and chin. The lavender color also subtly ups the brightening factor. This powder is very finely milled, so it doesn’t make me look powdery or dry, which is the opposite of what we’re going for.
- I skipped bronzer for this look because I wanted a fresh and clean kind of glow, rather than a bronzed glow. I decided that my unusually large cheeks needed just a bit of definition, so I applied a quick swipe of the contouring shade from the Wet n Wild Coloricon Contouring Palette in Dulce De Leche just to the hollows of my cheeks. It is a very soft shade (on me) that adds a subtle shadow without looking too warm or too harsh. I didn’t want to be completely without definition, but if you have naturally awesome cheekbones, feel free to skip this step. I envy you!
Urban Decay Naked Skin Weightless Complete Coverage Concealer >> Purchase at Sephora
NYX Color Correcting Loose Powder in Lavender >> Purchase on Amazon
Wet n Wild Coloricon Contouring Palette in Dulce de Leche >> Purchase on Amazon
- Using my Hourglass Ambient Lighting Palette, I applied a light dusting of Dim Light all over my face. This immediately gives the skin an undetectable glow.
- Next, I went into Radiant Light from the same palette. I placed that on my cheeks and along my hairline– basically anywhere I would typically apply bronzer. The difference is minuscule, but it adds a teeny bit of contrast for natural definition.
- Finally, I used a smaller blush brush dipped in Incandescent Light, and basically went to town with the highlight. I applied it to the tops of my cheekbones, per usual. I also brought it around my eyebrow in a “C” shape, down the bridge of my nose. Then I dusted some on my jaw, and pretty much everywhere else. I basically went swimming in it, but hey, I wanted to look dewy, right?
Hourglass Ambient Lighting Palette >> Purchase at Sephora
the Completed Look
Cheeks
I wanted to go with something, you guessed it, luminous, so what better an occasion to wear Milani Baked Blush in Luminoso. I applied this where I usually apply blush first. Then, I brought the color slightly lower to add definition in lieu of a defined contour/bronzer-like situation.
Milani Baked Blush in Luminoso >> Purchase on Amazon
Eyes
I did a simple two-shadow look on the eyes, paired with black liquid liner. I really wanted to keep with the natural theme, and keep all the focus on the skin.
Physicians Formula Matte Collection Eyeshadow, Classic Nudes >> Purchase on Amazon
Kat Von D Tattoo Liner in Trooper >> Purchase at Sephora
Lips
On my lips, I have on Almay Smart Shade Butter in Red-Light.
Almay Smart Shade Butter Lipstick >> Purchase on Amazon
This trend is emerging just in time for summer, so start practicing now!
That’s all for today!
If you liked this post, you’ll probably love this one too >> Look Pretty & Glowy With This Japanese Makeup Trend.
If you found this post interesting, informative, or just plain entertaining, tell me about it in the comments below. And don’t forget, sharing is caring. Share this post!
Till next time. ♥︎
Sign up for my free monthly e-journal, The Millennial Maven Love Letters for exclusive content + millennial inspiration and lifestyle hacks. Plus get instant access to my library of on-the-go style downloads!
FTC- This post is not sponsored by any of the brands mentioned. I purchase all products myself. All opinions are my own. Some links may be affiliated.


Your skin looks beautiful in these photos! What foundation are you wearing? Thanks – Vickie
Hi Vickie! I’m wearing my Urban Decay Naked Skin One & Done Hybrid Complexion Perfector. Whew, that’s a mouthful. Thanks for reading 🙂 xo
Sometimes I think these trends are getting out of hand. Like, what’s next? Nice post tho.
I honestly have no idea what could possibly be coming next, lol. But when it happens, I will report on it. Thanks for stopping by 🙂 xo
It looks like a lot of work for an everyday looking finish. But it does look really pretty! =D
I guess it depends on who you ask. For some people this is totally normal! For me, it’s a bit more than I typically do everyday, but I enjoy it so I don’t mind. Thanks for reading 🙂 xo