This post contains affiliate links. To learn more, hop over to our Disclosure page.
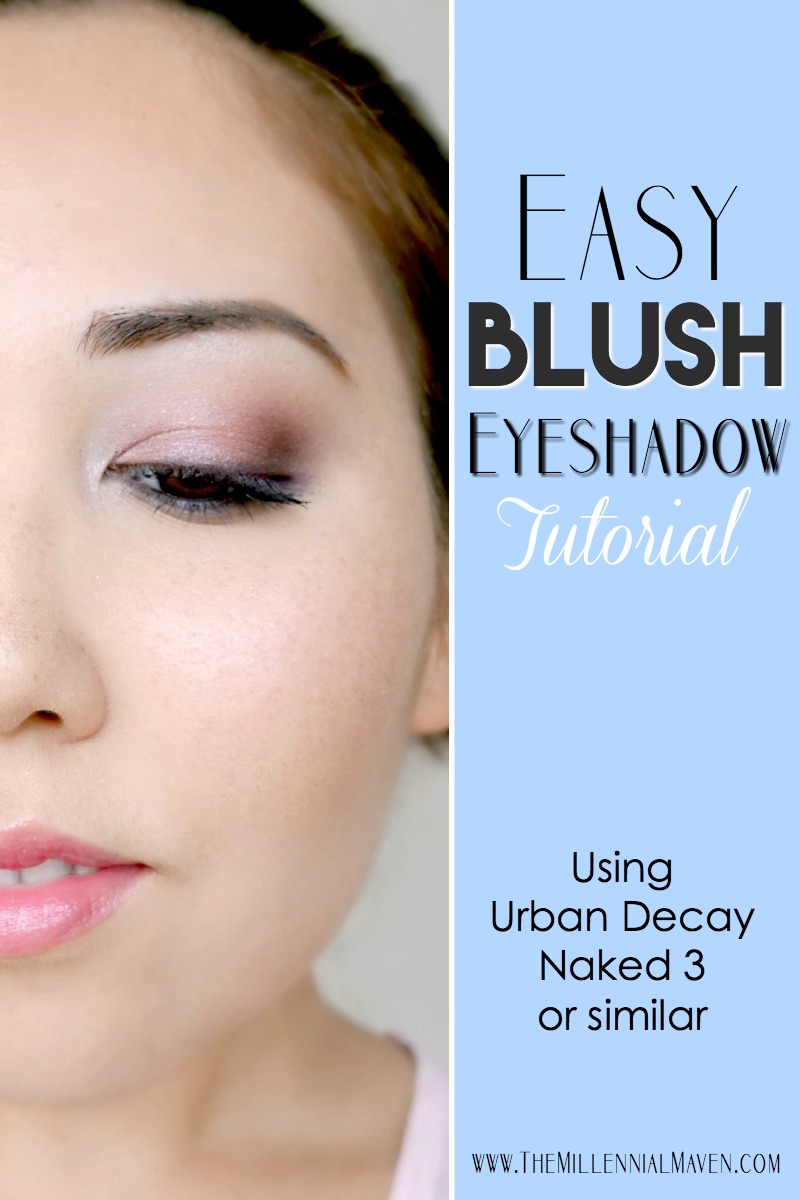
We’re doing something super meaningful today. It’s a feminine, pink eyeshadow tutorial in honor of Breast Cancer Awareness Month.
Fortunately, no women in my close family have fought breast cancer. But I know that just because it doesn’t seem to run in my family doesn’t mean we should dismiss the risk.
Cancer can happen to anybody, at any time, and you never know if it will happen to you or someone you love. This makes it all the more important to support the people affected by breast cancer, as well as the organizations who work tirelessly, (year round, might I add,) to learn more about the disease and find a cure.
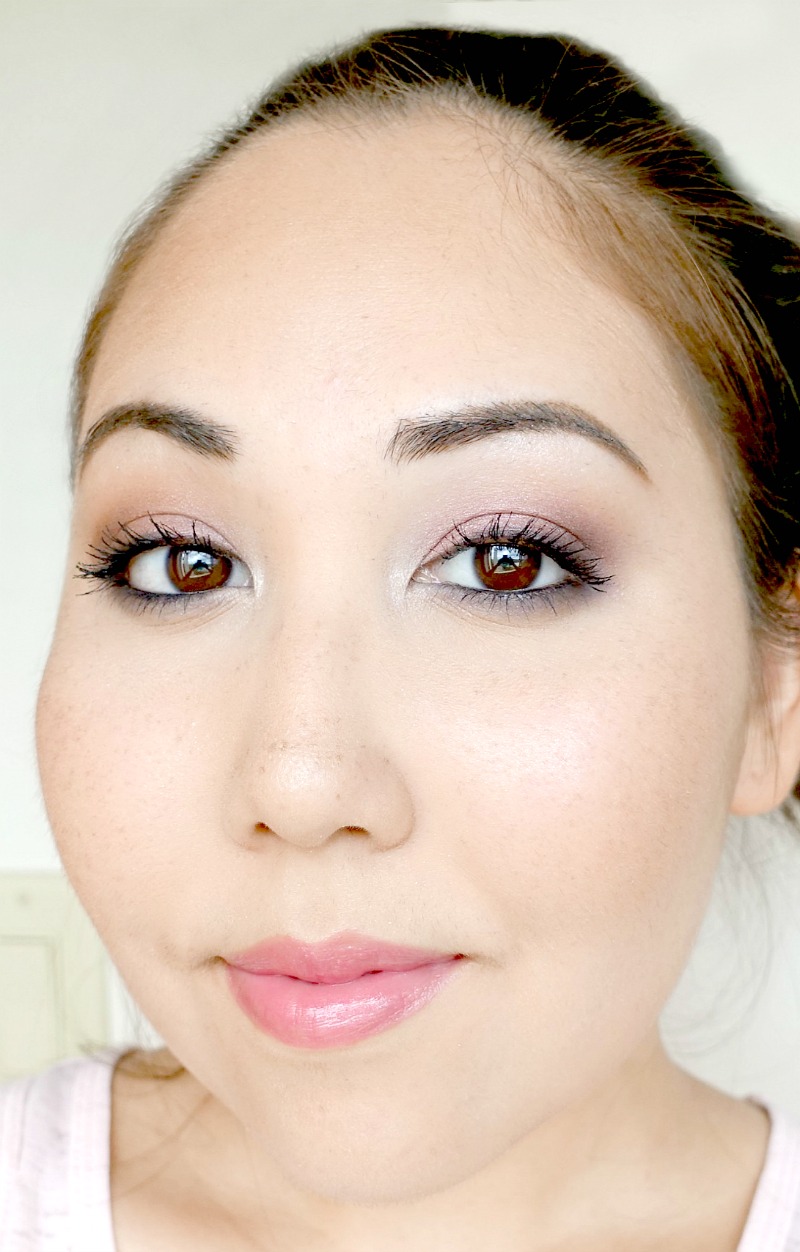
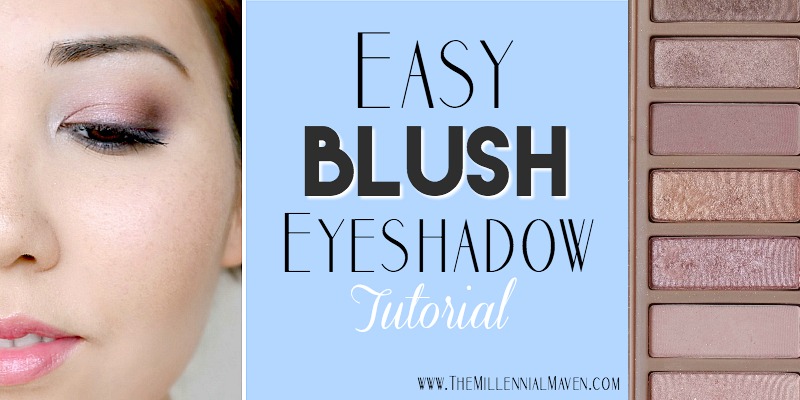
For this look, I thought what better product to use than my Urban Decay Naked 3 Palette. This pink eyeshadow tutorial is super pretty and easy to recreate and wear. This look is light and daytime appropriate, but it is also super easy to glam up for the night time.
Let’s get started with this pretty pink eyeshadow look!
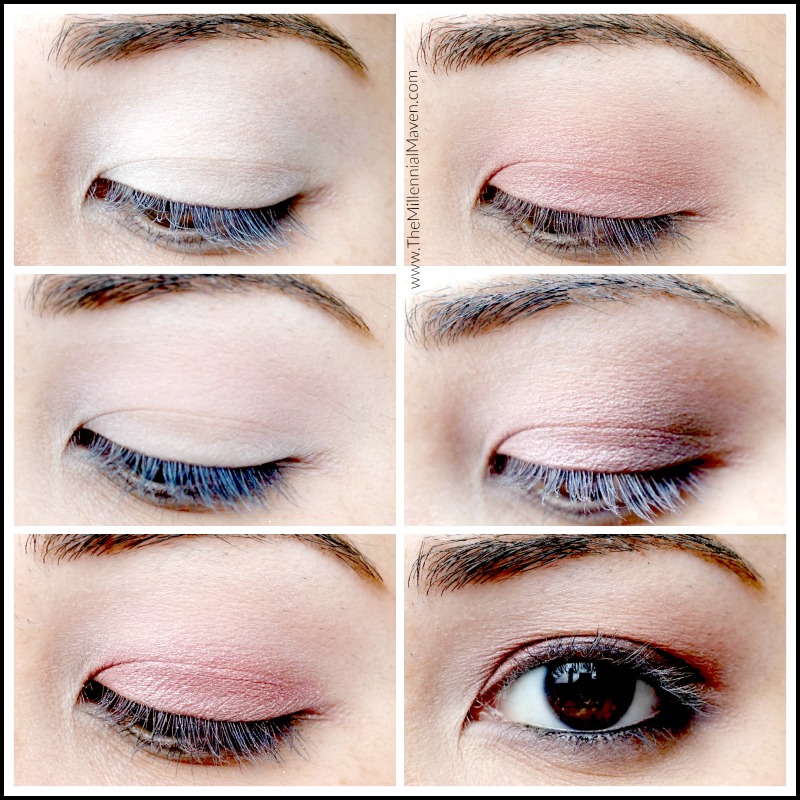
Step 1 — Apply a white base all over your eye area.
It doesn’t have to be completely opaque, but just enough to dull the skin tone a bit. I used my NYX White Eyeshadow Base. This help the pink really stand out.
Pink eyeshadow can sometimes look like an eye irritation if it isn’t made to stand out as a color that was intentionally put there.
Plus, eyeshadow bases are always helpful for making your eyeshadows stick to your lids and last all day.
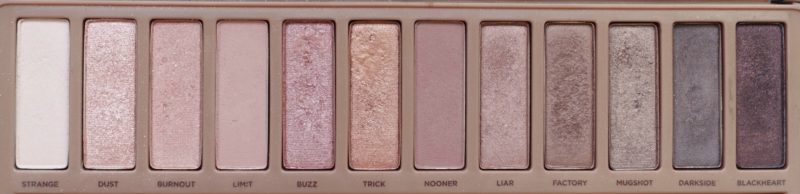
Urban Decay Naked 3 Palette >> [SEPHORA]
Step 2 — Dip a fluffy crease brush into Limit
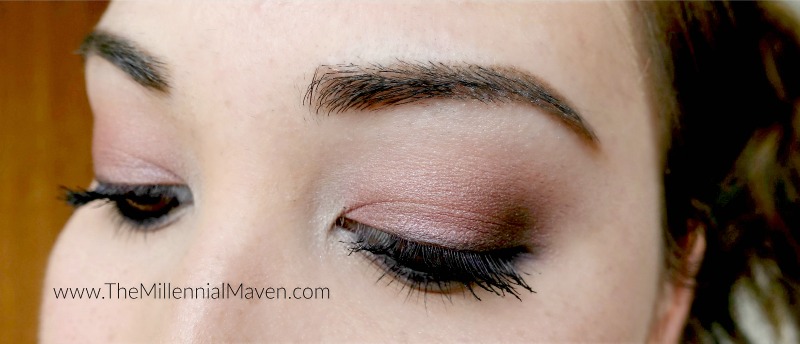
Apply Limit liberally all over the crease area. Blend downward onto the lid and upward slightly towards the brow bone. This provides a smooth base that makes blending darker colors easier, and helps to create a beautiful gradient on your lid. There is no need to be too neat with this.
Step 3 — Pick up Buzz on a flat shader brush
Pack Buzz all over the lid, staying just beneath the crease.
Try moistening your brush with setting spray or eye drops if you want the color more intense, but I kept mine dry for a softer look.
Real Techniques Enhanced Eye Brush Set >> [AMAZON]
Step 4 — Gently dip your fluffy brush into Liar
Using the same fluffy brush, pick up a tiny bit of Liar and use it to blend the transition between Buzz and Limit. Focus the color on the outer portion of your crease and then softly drag the color inward.
Step 5 — Tap your flat shader brush into Darkside. Tap.
Dip the same flat shader brush into Darkside and carefully place the color in the outer corner of your eye. You can always add more color, so I recommend starting light.
Use your fluffy brush to help blend, being careful to keep the color in the outer corner area. Don’t let it get too far inward onto the lid, too high up into the crease, or too far off into the abyss beyond the end of you eyebrow. This keeps your eyeshadow looking smoky, and not scary.
Step 6 — Line your waterline with a black pencil liner
I used my L’Oréal Infallible Never Fail Eyeliner in Black.
For a smokier line, pick up of a bit of Factory on a small pencil brush and smudge it along your lower lash line. Once that is blended, dip the brush into Nooner and blend over Factory to soften.
Step 7 — Line your upper lash line using Darkside + your choice of brush
Start the concentration of color in the center of your lash line and drag it toward the outer corner. Once most of the color is off your brush, drag the color towards your inner corner, stopping about 1/3 of the way in.
You want the heaviest color to be on the outer half of your eyes.
Step 8 — Highlight your brow bone
Highlight your brow bone with your favorite powder highlighter or use one of the light shadows from the UD Naked3 Palette. I used my L’Oréal True Match Lumi Powder Illuminator on both my brow bone and my inner corners.
Step 9 — The finishing touches
Apply mascara to bring the look to the next level. I used my Lancome Hypnose Drama Mascara on my top lashes, and Clinique Bottom Lash Mascara, on my bottom lashes.
If you haven’t yet filled in your brows, now is a great time to do so.
Step 10 — Finish the look with soft pink lips and cheeks
For the lips and cheeks, I went with very sheer pink colors that kept the overall look soft and not overdone. (Products listed below.)
You can always go for brighter colors if you’d like, but stick to to neutral and cooler shades. A super warm toned lip or cheek color might clash with the dusty pink smoky eyes.
|| Products Used ||
E.l.f. Blemish Control Face Primer >> [ELF COSMETICS]
Hourglass Immaculate Liquid Powder Foundation in Shell >> [SEPHORA]
Urban Decay Naked Skin Concealer in Light Neutral >> [SEPHORA]
Benefit Hoola Bronzer >> [SEPHORA]
Milani Rose Blush in Romantic Rose >> [ULTA BEAUTY]
L’Oréal True Match Lumi Powder Glow Illuminator Rose >> [AMAZON]
Maybelline Brow Define + Fill Duo in Soft Brown >> [AMAZON]
NYX White Eyeshadow Base >> [TARGET]
Urban Decay Naked 3 Eyeshadow Palette >> [SEPHORA]
L’Oréal Infallible Never Fail Eyeliner in Black >> [AMAZON]
Lancome Hypnose Drama Instant Full Volume Mascara >> [SEPHORA]
Clinique Bottom Lash Mascara in Black >> [SEPHORA]
Revlon Lip Butter in Berry Smoothie >> [AMAZON]
A parting thought
As you wear this look, please take a moment to think about all the people affected by breast cancer, and make a promise to take care of yourself. You’re all you have.
That’s all for this pretty, pink eyeshadow tutorial!
Like this post? You’re sure to love this one too >> 6 Looks Using Only 3 Basic Eyeshadows
If you find this post interesting, informative, or just plain entertaining, tell me what you think in the comments below. And don’t forget, sharing is caring. Share this post!
Till next time. ♥︎
Sign up for my free monthly e-journal, The Millennial Maven Love Letters for exclusive content + millennial inspiration and lifestyle hacks. Plus get instant access to my library of on-the-go style downloads!
FTC- Not sponsored by any brands mentioned. I purchase all products myself. All opinions are my own. Some links may be affiliated.
I love the look of the Naked 3 palette but I feel like all the looks end up looking pretty much the same. This is a pretty tutorial, but I’m just not a fan of the palette.
-Willow-
I understand where you’re coming from. And I do agree that the Naked 3 isn’t the most versatile palette, but it is nice for the occasions when I’m just feeling “pink.” Lots of different pinks to choose from! Thanks for reading 🙂 xo