This post is not sponsored, but does contain affiliate links. To learn more, hop over to our Disclosure page.
I wish I had flawlessly perfect skin. And I’ll do almost anything to make that a reality. Unfortunately, my skin just doesn’t share in that dream.
I can’t be the only one who feels this way.
You know the feeling, when you dutifully cleanse, tone, mask, and moisturize only to be left with all the same irritating skin issues that refuse to leave you alone.
Fine lines, wrinkles, dry patches, large pores, texture, dullness, acne, and the list goes on. So what gives?
I’ve learned in my oh-so-wise 26 years that I can’t control everything my skin does, but I can figure out ways to outsmart it.
If my skin thinks it is going to stand in the way of me doing what I want, then it is sorely mistaken.
This is my everyday, “flawless skin” makeup routine that helps me look put together, and well, flawless, without caking on the foundation for a full-glam finish. Don’t get me wrong, sometimes full-glam is good, but on most days I just want to look fresh, pretty, and natural.
Do you feel me?
If you do, then keep reading!

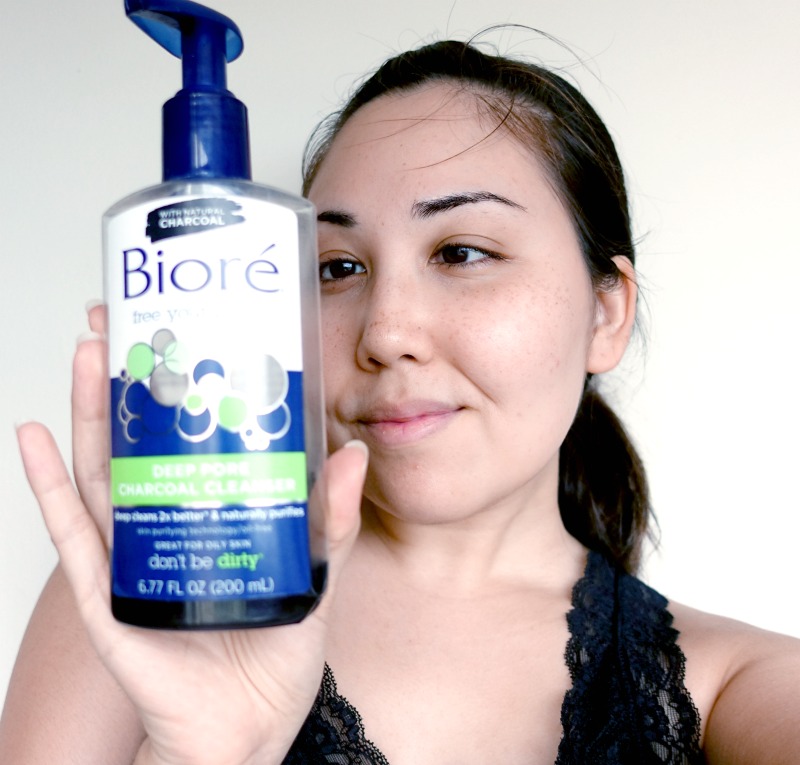
Flawless makeup starts with cleansing before makeup
Here’s me gazing lovingly at my new favorite face wash, Bioré Deep Pore Charcoal Cleanser. Clearly, I’ve been loving on that that particular bottle hard. It’s nearly empty.
Another favorite of mine is Origins Checks and Balances Frothy Face Wash.
They both give a tingly, minty feel that is totally refreshing and amazing.
Update 4/2020: At the time when I wrote this post, my skin was much oilier. Charcoal cleansers like the one shown above are great for drawing excess oil and contaminants out of pores. These days my skin is much less oily, even verging on dry in the winter time. I now use CereVe Hydrating Cleanser every morning and evening to keep my skin feeling hydrated and balanced.
Moisturize with the most hydration your skin can handle
This is a new one for me, but I find it makes a big difference in how flawless my makeup ends up looking. See, I used to constantly go for the lightest & thinnest moisturizer I could possibly find because I was terrified of looking oily. Considering some of the garbage I thought was good, I might as well have skipped moisturizer all together.
Even if you have oily skin to contend with, don’t skip moisturizer. I repeat- don’t skip moisturizer!
Primers (and sometimes powders) are the way to go when it comes to controlling oil, and restricting moisturizer is not.
I’ve been using Clinique Dramatically Different Moisturizing Lotion+ recently, and I really love it. It’s just creamy enough to feel like I’m doing something good for my skin, but not so much that it breaks down my makeup.
Update 4/2020: CereVe has become my favorite skin care brand as of late because it is trusted by many, affordable, and easily accessible at local drugstores. I use CereVe AM Facial Moisturizing Lotion SPF 30 in the morning and CereVe Moisturizing Cream at night.
Select a primer (or three)
Primer is SO important. But I didn’t always believe that. Embarrassingly, I used to believe that primer is useless and just another nod to our consumeristic tendencies. Once I began wearing primers on occasion, I slowly noticed the difference in how my makeup looked. Soon I began wearing some sort of primer every single day!
With primers for everything floating around, how do you know which one to buy? It’s all about pinpointing your specific skin issues and going for primers just for that. Sometimes you’ll need more than one, and that’s okay too!
For more tips on choosing the perfect primer for your skin type, check out this post I created recently >> The Ultimate Beginner’s Guide to Makeup Primer
I hop between three primers depending on what I’m dealing with. When my pores look huge, (ahem, see photo below,) E.l.f. Poreless Face Primer becomes my best buddy. Super inexpensive, fills in my pores like a charm, and doesn’t add any extra weight to my foundation look.
Feeling dull and dry? Try an illuminating primer! Cover FX Illuminating Primer is awesome for bringing light into your skin all over, or just in target areas. Plus, the thin formula blends beautifully and adds zero texture to your skin.
And for those especially oily days, I bring out the big guns, my Cover FX Mattifying Primer with Anti-Acne Treatment. This stuff doesn’t mess around, and it keeps my super-villain oils under control for hours.
Update 4/2020: I still like the primers listed above, but my skin has changed since I first wrote this post in 2017. Today, I combine my favorite two primers almost everyday, and together they give me such a nice look I often don’t wear any additional face makeup. These two primers are Becca Backlight Priming Filter and Tarte BB Tinted Primer. I apply the Tarte primer to smooth my skin and add a nice blurring effect. Then, I tap Becca Backlight Filter (not smear) onto the high points of my face as a pre-highlight.
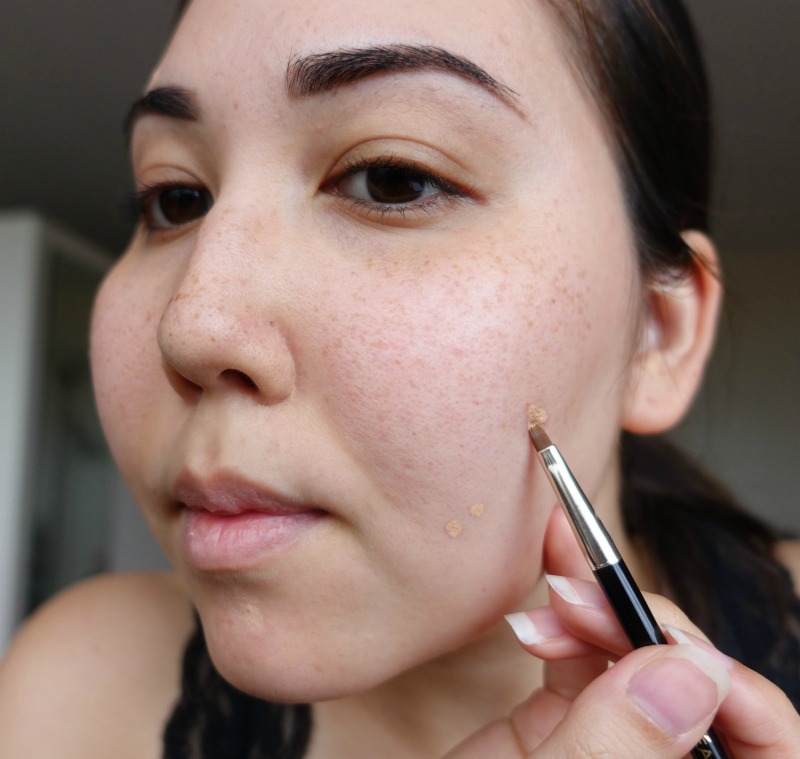
Cover prominent spots BEFORE foundation
This is where the magic happens. We’re trained to apply foundation, look for what it doesn’t cover, and then add concealer on top. Here’s why that doesn’t work– It’s super hard to find a concealer that is exactly the same shade as your foundation. And that means being left with oddly-colored polka dots on your face. Not cute.
Cover spots you know are too much for your lightweight foundation using a tiny smudge brush and Cover FX Custom Cover Drops. Blend slightly over the edges, while keeping the product in as small an area as possible right over the spot.
Allow the superbly pigmented liquid to dry completely before moving on to the next step. This way it stays in place and not blend away so easily. Keep that coverage, girl!
Update 4/2020: I was recently reintroduced to Benefit Boi-ing Concealer and I am hooked! The dry formula is perfect for this step because doesn’t move when other products are applied on top.
Layer on a small amount of light/medium coverage foundation
Now that all the heavy lifting is done, let your favorite lightweight foundation take care of the rest!
I use It Cosmetics Your Skin But Better CC Cream almost every day for the skincare benefits, sun protection, plus pretty decent coverage if you ask me. It evens out my skin, dims the freckles, and neutralizes some pinkness, but it doesn’t completely cover my skin.
I want my real skin showing, just minus the imperfections, and this product is perfect for that.
I prefer using a BeautyBlender for this because the pressing and bumping motions don’t disturb the carefully placed coverage underneath.
Update 4/2020: Catrice HD Liquid Coverage Foundation is another new discovery for me, and I have really been enjoying the finish it gives. (Learn more about this foundation in the post listed below!)
Related: Top 10 Best Foundations at the Drugstore | Best Drugstore Foundations
Apply a brightening under eye concealer
My under eye circles usually aren’t too bad, so I stick to a lightweight brightening concealer for under my eyes. If dark circles plague you, I recommend using a color corrector on the smallest area possible to cancel out the discoloration. Then, go over the area with your regular lightweight concealer. The last thing you want is for your face to look mismatched with a heavy under eye area and light coverage everywhere else.
For light days, Maybelline Fit Me Concealer is just the best! I know I talk about this one a lot, but it really is one of my staple products.
Update 4/2020: Obviously, I’ll always love my Maybelline Fit Me Concealer. But recently I have rediscovered an old favorite, Nars Radiant Creamy Concealer. (Learn more about this foundation in the post listed below!)
Related: My 10 Favorite High-End Concealers For All Skin Types (Best Concealers)
Set lightly with powder
I used to really go ham with the powder. No spot on my face was ever left untouched. But that’s not the best strategy if you’re going for the dewy look. I threw out all my loose powders when I decluttered my makeup and now I just use the same L’Oreal True Match Powder everyday. I apply powder only where I really need it, leaving the rest of my skin powder-free. For me, powder goes under my eyes to keep my concealer from creasing, in the center of my forehead between my brows, on my nose, and a little wisp on my chin.
Highlight your face strategically + add color
Avoid using shimmery highlighters over textured areas if at all possible. Shimmers reflect light unevenly as it is, and so placing it on areas where light is already unevenly distributed exacerbates the problem.
Place your beautiful shimmery highlighters on your best areas, and use a matte highlighting powder (or any product lighter than your skin tone,) over the areas that have some texture, but that you still wish to bring forward.
While I love powder highlighters, they can sometimes be difficult to control and blend. Liquid highlighters are much easier to sheer out and blend so you’re left with the flawless makeup look you want.
Recently, I’ve been loving my Cover FX Custom Enhancer Drops. I use the shade Moonlight, and it’s so easy to get just the right amount of highlight without going overboard.
Need more help with highlighting? I’ve got just the post for you! It’s an all inclusive, comprehensive guide on all things highlighting. Check it out >> How to Highlight Your Face the RIGHT Way (+ the wrong way)
The same goes for blush! I recommend sticking to matte blushes, and using highlighters to add touches of shine here and there.
Update 4/2020: I still recommend using as many matte products as possible and adding shimmer strategically just where you want it. My current products are Physicians Formula Butter Bronzer, Clinique Cheek Pop Blush in Melon Pop, and ColourPop Super Shock Highlighter.
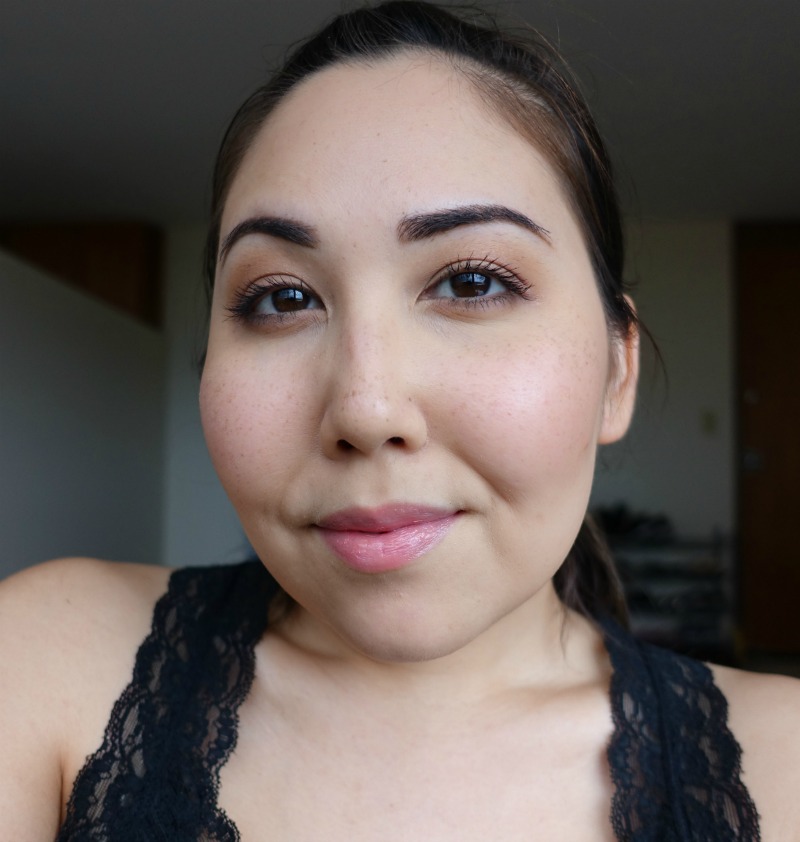
Finishing spray makes everything better
Setting sprays really are worth the hype. They are not shams to get you to buy yet another product. (Lash primers on the other hand…)
I use my favorite setting spray, Milani Make It Last Setting Spray, just about every day. When I’m wearing heavy makeup, setting spray helps to moisturize everything so all the layers blend together as one instead of looking like layers upon layers of separate products.
On normal days, the slightly tacky spray locks on to my already light makeup and keeps it in place. Just because I started out on the light side doesn’t mean I want my face to be naked by the end of the day. Plus it helps keep my oily forehead and nose under control, and that’s important in my book.
Just in case you’re wondering, the photo above is taken straight out of the camera. No editing, brightening, or skin smoothing involved. This is what I really look like on the day-to-day. Nothing too fancy, and no Instagram filter magic.
That’s all for today!
Like this post? You’ll definitely love this one too >> The Ultimate Foundation Guide — How To Find the Best Foundation for Your Skin
If you find this post interesting, informative, or just plain entertaining, tell me about it in the comments below! And don’t forget, sharing is caring. Share this post!
Till next time. ♥︎
Sign up for my free monthly e-journal, The Millennial Maven Love Letters for exclusive content + millennial inspiration and lifestyle hacks. Plus get instant access to my library of on-the-go style downloads!
FTC- Not sponsored by any brands mentioned. I purchase all products myself. All opinions are my own. Some links may be affiliated.
This is my favorite kind of look. Put together but not too much. Lovely!
I like natural makeup, but there isn’t much left out there that fits my definition of “natural.” What other people consider “natural” I call “heavy makeup” haha. I like this look a lot. Good job 😉 -Candie
I’m glad you enjoy, Candie! Thanks for stopping by 🙂 xo
I like your idea to use the Cover FX drops under foundation like a concealer. Talk about amazing coverage without much added weight to your face. I love this routine xx
Hi Millie, I’m glad you enjoyed! Do let me know how it goes for you. Thanks so much for reading! 🙂 xo