This post contains affiliate links. To learn more, hop over to our Disclosure page.
Eyeshadow skills are no joke.
Anyone who thinks makeup artists aren’t “real” artists, or women applying makeup are “useless bimbos” (seriously, I’ve heard this one,) really needs to educate themselves on the sheer skill it takes to apply eyeshadow and make it look stunning.
Let’s just make one thing clear, I am not a professional makeup artist. These are simply my best tips for making my non-pro makeup skills look awesome on the day-to-day.
Makeup is fun, and there’s no wrong way to wear it. Do whatever makes you feel beautiful. But if you are trying to achieve that look (you know what I’m talking about here,) but still want to look everyday appropriate, then these tips are for you.
Let’s get started!
1. Do your eyebrows before starting on eyeshadow
Perhaps if you’re super good at eyeshadow (and geometry, for that matter,) then it doesn’t matter when you define your eyebrows. You’ll get your eyeshadow placement right every time anyway.
But for me, I have to do my eyebrows first.
Eyebrows typically extend beyond the widest point of your eyes and acts as a frame for your eyeshadow. Unless the look you’re going for is rather avant-garde, eyeshadow stays within the borders set by your brows.
When you have your brows done, you know exactly how far out to extend your eyeshadow, and you be able to avoid quite a few mishaps.
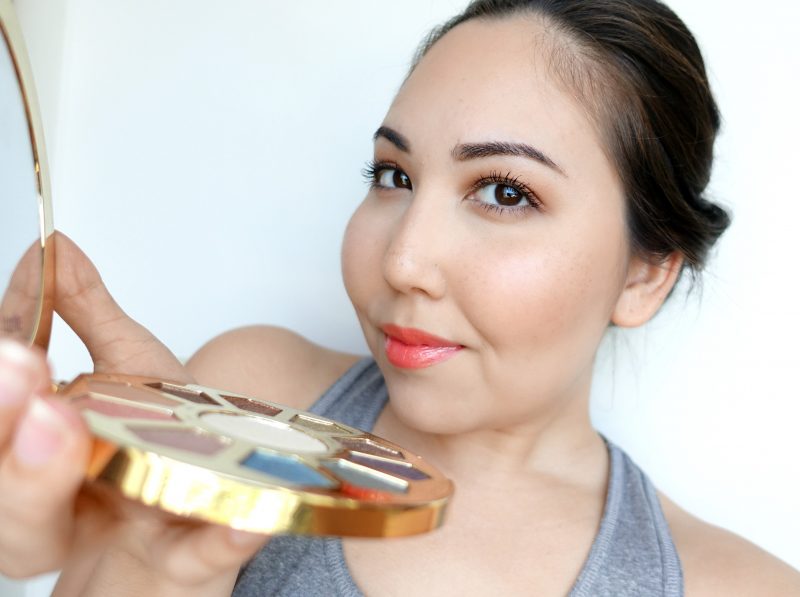
2. This should go without saying, but please use a primer!
Primer is a beautiful thing! It smooths your eyelid surface so your eyeshadow looks smooth and not patchy. Primers help control oil so your eyeshadow doesn’t melt or crease throughout the day.
The sticky base gives eyeshadow something to grab onto, which also prevents creasing, melting, and slipping and sliding. Not to mention, the barrier between the pigments and your skin helps to prevent eyelids becoming stained from intense colors.
Finally, eyelid primers (especially pigmented ones,) give you a totally blank palette to work with. No eyelid discoloration peeking through means more vibrant eyeshadow pigmentation, and an overall more professional look.
Whew, that’s a lot of reasons.
Raise your hand if your eyeshadow has ever creased, smudged, or otherwise went rouge because of oil on you eyelids. Don’t worry, it happens to the best of us. I wholeheartedly recommend Nars Smudge Proof Eyeshadow Base to all my oily-lidded friends. It’s the best I’ve found when it comes to preventing oil production and keeping eyeshadows locked in place all day long.
For something with a bit more coverage, MAC Paint Pots grab onto your eyelids like no other. Try my favorite Mac Paint Pot in Soft Ochre. The soft yellow shade works amazingly for neutralizing darkness on your eyelids, especially when you’re tired.
3. Set your primer with loose setting powder
Not a white eyeshadow. Not a pressed mattifying powder. Loose powder.
The thing about primer is that you must set it to take away the tackiness, otherwise the eyeshadows you place on top won’t blend well, and that wouldn’t be good.
The goal is to create the smoothest canvas possible so that your eyeshadows will blend like a dream. Do this by only using the smoothest of powders to set your primer.
Loose setting powders set the primer evenly and leave behind no powderiness, patchiness, or roughness that causes eyeshadows to skip and otherwise refuse to blend.
If you’re new to loose powders, E.l.f. High Definition Powder is a great place to start. It’s inexpensive, yet just as high quality as some other expensive *cough*overpriced*cough* loose powders.
4. Use the right brushes– you only need 3
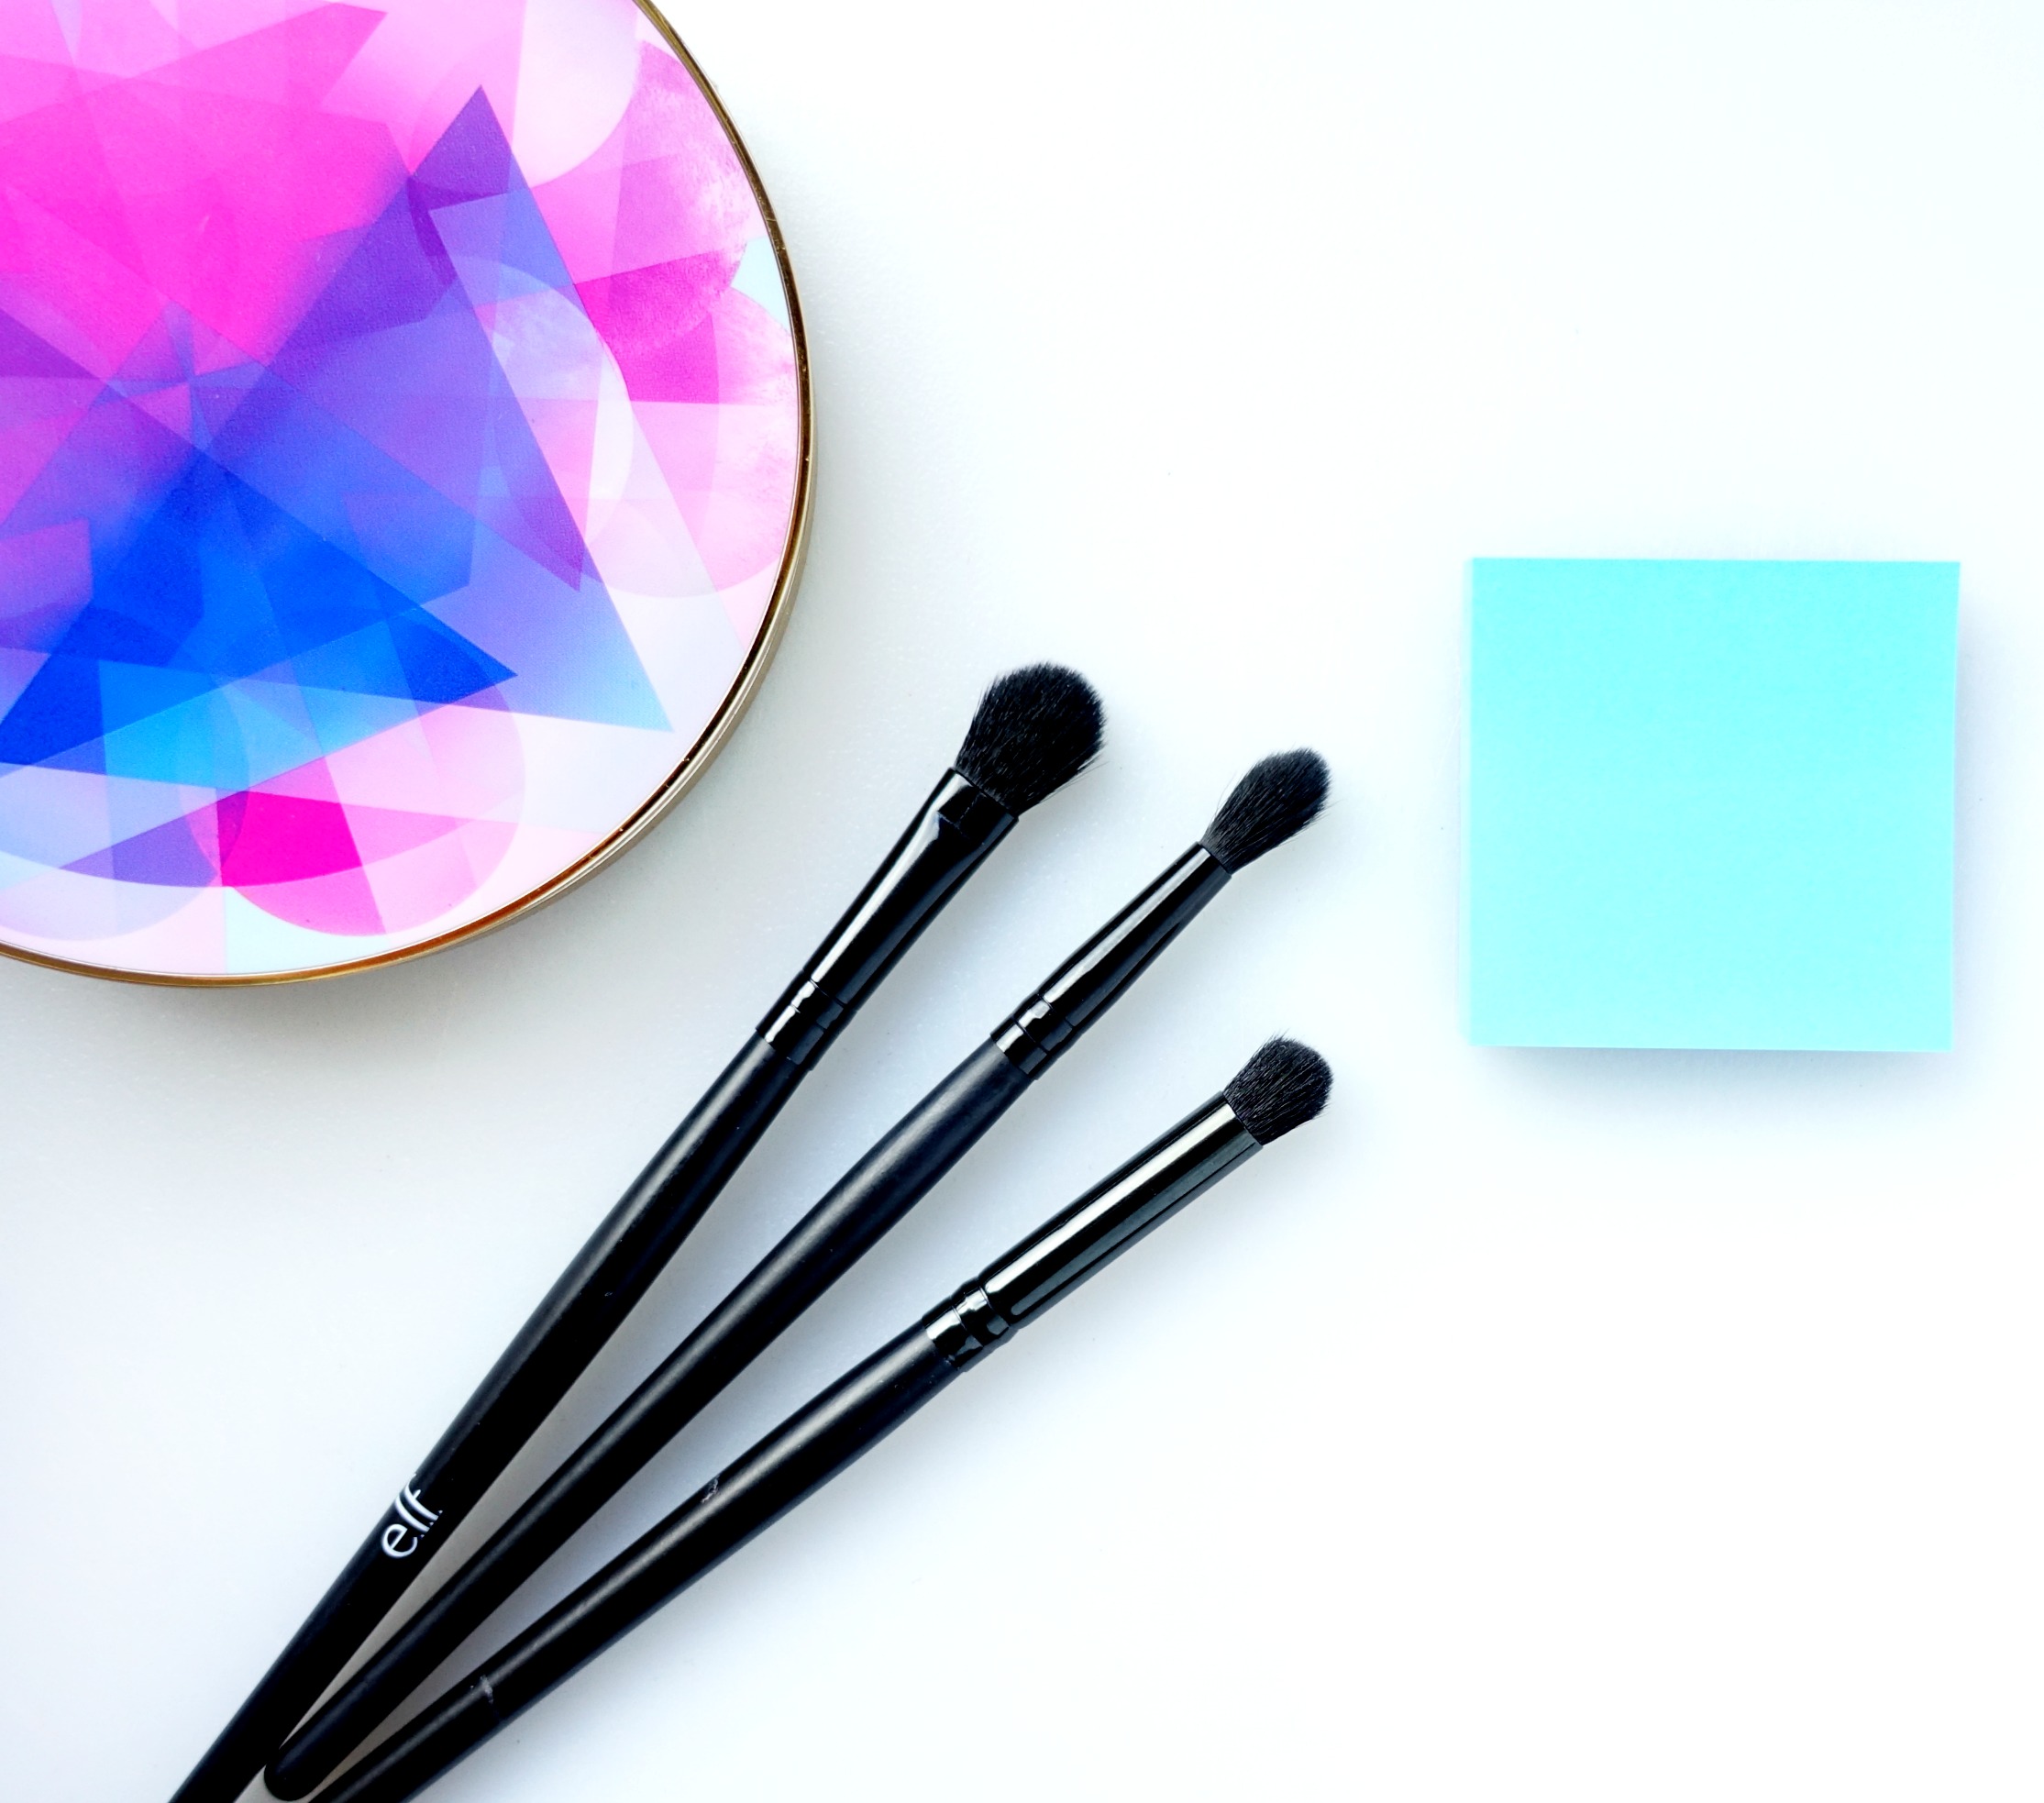
I only use three eyeshadow brushes in my everyday eyeshadow routine, and they all come from E.l.f.’s reasonably priced Studio Line.
Grab a fluffy blending brush, a smaller tapered blending brush, and a dome brush.
Use the fluffy blending brush (aka the largest brush) for applying your transition shade to your crease. Then, add a bit more definition with your tapered blending brush and a slightly deeper color.
Finally, go into all-out detail mode and apply your deep outer corner shade using the dome brush. The small size and stiffer feel will keep the color just where you want it so your finished look looks sleek and not muddy.
5. Use more matte shades than you think you need
Matte shades are the angels of professional eyeshadow application. When in doubt, blend in more matte shades to add depth, dimension, contrast, and smoothness to your looks.
Shimmery and glittery shades can get out of control very quickly, but mattes are the gift that keep on giving.
QUICK TIP >> Try creating the look you want using only matte eyeshadows. Then, choose one shimmery eyeshadow shade to add a touch of something extra right at the end.
6. Create plenty of contrast by blending multiple colors
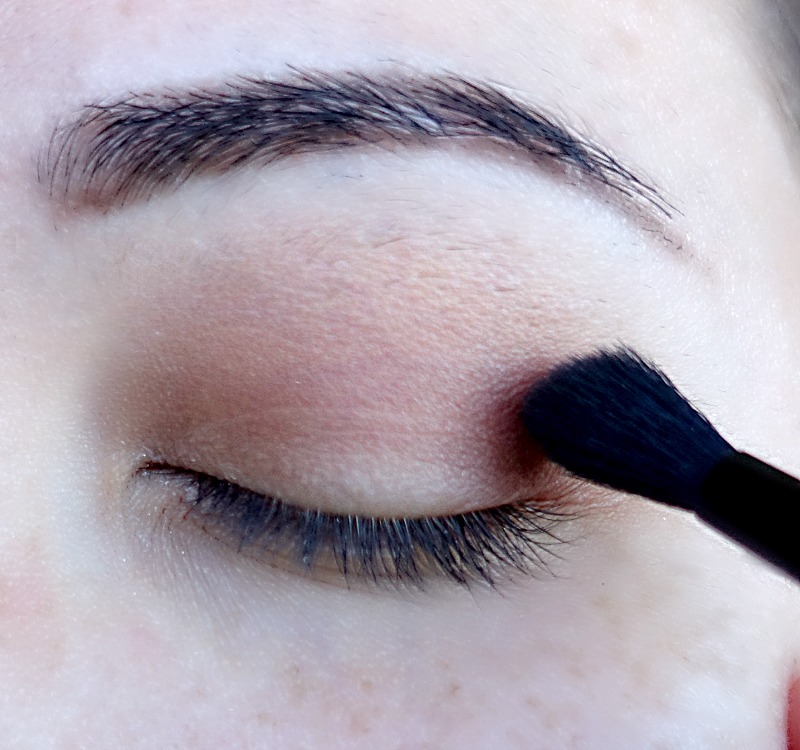
This is along the same lines as the last tip, but that’s because it’s so important when it comes up upping your eyeshadow skills!
When I was first learning the eyeshadow ropes, I had a huge problem with this. See, I feared dark colors because I didn’t know how to keep them under control. But I also rejected any super light colors because I thought, why even bother?
This left me with a mid-toned, muddy mess on my eyelids. And for the longest time, I just couldn’t for the life of me figure out what went wrong.
When I finally started venturing incorporating lighter and darker shades into my looks, my world opened up. Seriously.
Even if it scares you, just do it. It’s just makeup: it washes off.
If you’re looking for a great matte eyeshadow palette, the Urban Decay Ultimate Basics includes every neutral matte you could possibly need. It’s one of my personal favorites.
7. Familiarize yourself with your eye shape
My next biggest mistake was not adapting makeup looks to suit my eye shape. My eyes are quite different than many beauty guru’s eyes, and so many makeup tutorials just didn’t work out on my eyes. It always looked a mess.
I definitely recommend figuring out what shape your eyes are. (If you need help, don’t you worry, I’ve got a full guide coming soon!)
Now, don’t think you can only wear makeup looks that are “for” your eye shape. That’s not true- you can wear anything you want as long as you know your eye shape.
QUICK TIP >> Instead of replicating the beauty guru’s shadow placement, place the colors they are using where they fit best on your eye. You’ll end up with “the look” but it will be much more tailored to your natural features.
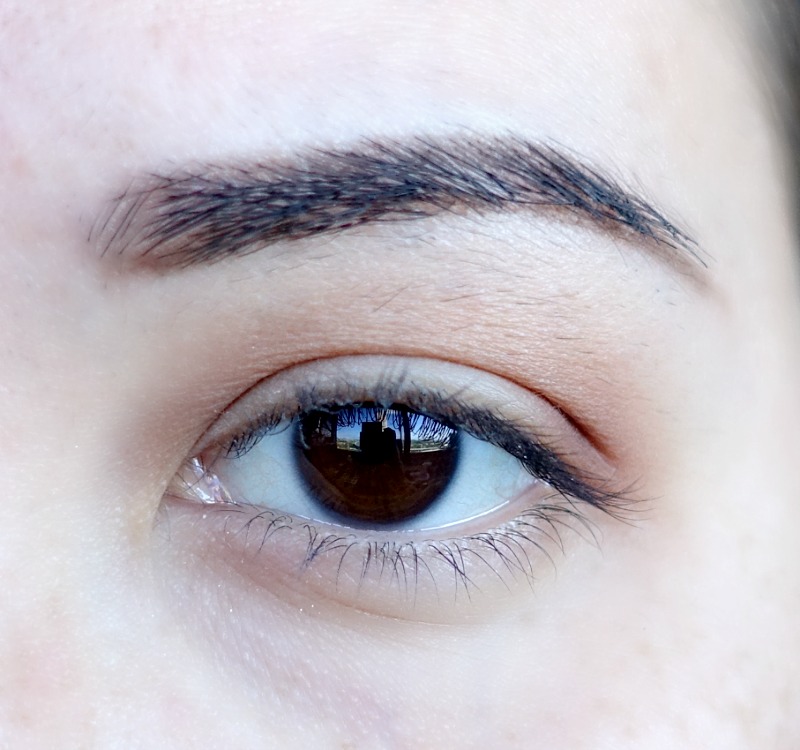
8. Open your eye and admire your handiwork head-on
This is one that I learned from Wayne Goss on Youtube, and it’s been a game changer! You won’t be going about your day with your eyes closed, and so you need your eyeshadow to look beautiful and blended when your eyes are open.
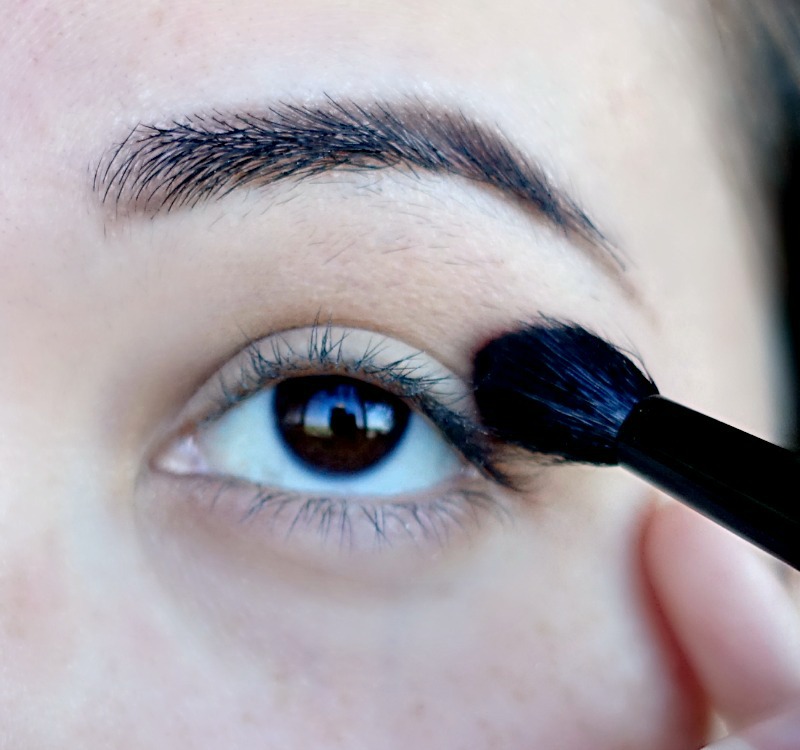
Instead of closing your eyes to apply your eyeshadow, try to keep your eye open as much as possible. Yes, it’s difficult at first, especially if you have sensitive eyes, but with some practice you’ll be able to look at yourself no problem.
It’s especially helpful for hooded eye owners because your crease doesn’t always fall exactly where you think it does.
9. Cheat. (Yes, you read that right.)
I used to think people “good” at eyeshadow didn’t use guides and props- they just somehow knew exactly where to place the eyeshadow. Come to find out, they don’t.
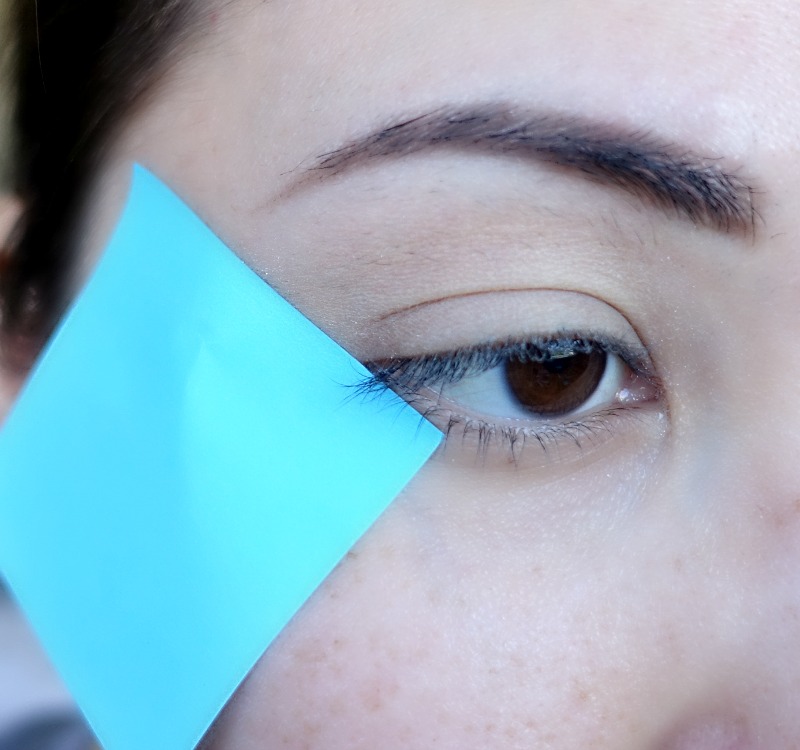
There is nothing wrong with using non-makeup things to get your eyeshadow placed exactly where you want it, and no where you don’t.
One of my favorites is the humble sticky note. The adhesive sticks to your face just enough, but doesn’t tug when removed. Plus, the larger surface area catches a lot of the inevitable fall out from dramatic eye looks.
Other popular options include scotch tape, credit cards, or even a thick layer of loose powder. Sure, you could go the baby wipe and concealer route, but why fix it when you can prevent it instead?
Just my two cents.
10. Wear just one “pop of color” at a time
I loooove those makeup looks that include an entire rainbow’s worth of colors, but when I tried them myself, let’s just say the results weren’t nearly as lovable.
But I still wear colorful eyeshadows. What can I say, I’m a colorful person! I just simply limit myself to one bright color per look, and I’ll fill in with neutrals.
Sometimes I go for a bright blue lid blended with browns in the crease. Other times, it’ll be a forest green in the crease with a champagne shimmer on the lid. Or perhaps even a super basic eye lid area with a flash of purple under my lower lash line.
It always looks chic no matter what color I go for.
Try L’Oréal Colour Riche Eyeshadow for your pops of color. They’re colorful, but not so colorful that they’re unwearable. And they’re super high quality and pigmented.
Eyeshadow Skills Bonus Tip!
When in doubt, throw on a pair of fluttery falsies.
No matter what my eyeshadow ends up looking like, if I don’t have time to fix it, then this is what I do.
Add lashes, blend your eyeshadow a bit more, and chances are you’ll look fabulous. No one will know your eyeshadow didn’t turn out the way you would have liked.
My top eyeshadow recommendations
Just getting started? Or just on the hunt for some new colorful goodies? These are some my absolute favorite products that I’m using in this post! They work for eyeshadow lovers of all levels.
Coastal Scents Hot Pots >> [Coastal Scents]
Urban Decay Naked Palette (Original) >> [Sephora] [Ulta]
Urban Decay Ultimate Basics >> [Sephora] [Ulta]
Nars Smudge Proof Eyeshadow Base >> [Sephora]
MAC Cosmetics Paint Pots in Soft Ochre >> [Ulta]
L’Oréal Colour Riche Eyeshadow >> [Amazon] [Ulta]
E.l.f. High Definition Powder >> [E.l.f. Cosmetics]
E.l.f. Synthetic Makeup Brushes >> [E.l.f. Cosmetics]
That’s all for today!
Like this post? Definitely check out this one next! >> Spring Makeup Look w/ Pink Ombre Wing – Full Tutorial
If you find this post interesting, informative, or just plain entertaining, tell me about it in the comments below! And don’t forget, sharing is caring. Share this post!
Till next itime. ♥︎
Sign up for my free monthly e-journal, The Millennial Maven Love Letters for exclusive content + millennial inspiration and lifestyle hacks. Plus get instant access to my library of on-the-go style downloads!
FTC- Not sponsored by any brands mentioned. I purchase all products myself. All opinions are my own. Some links may be affiliated.
Leave a Reply