This post contains affiliate links. To learn more, hop over to our Disclosure page.
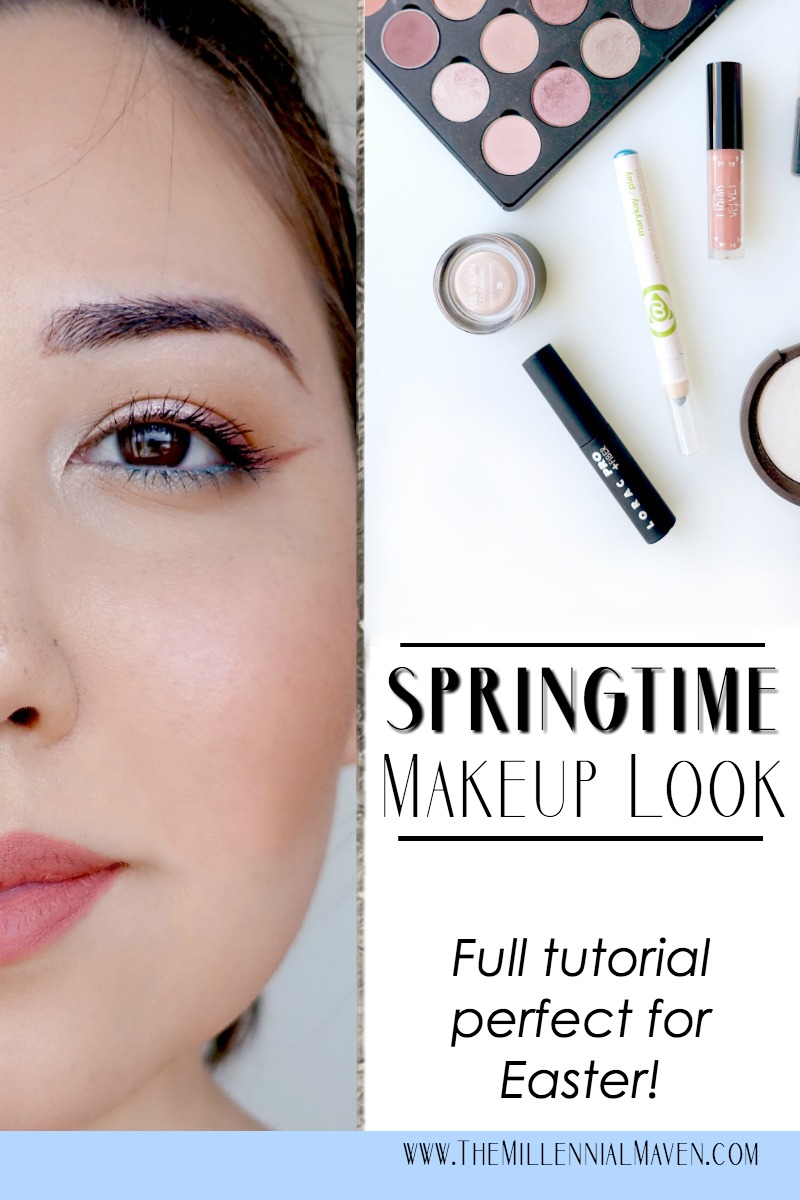
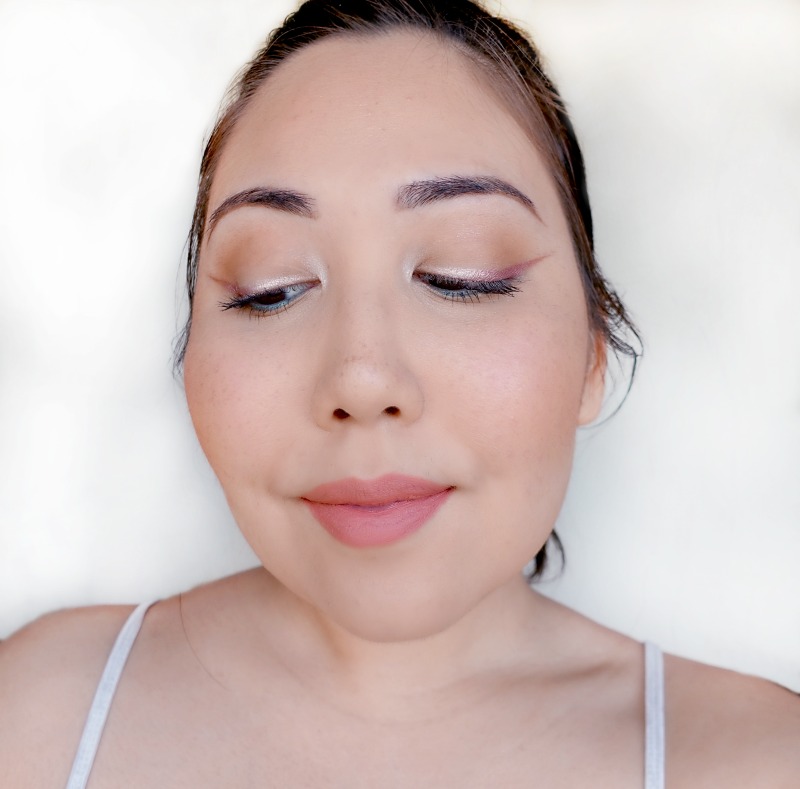
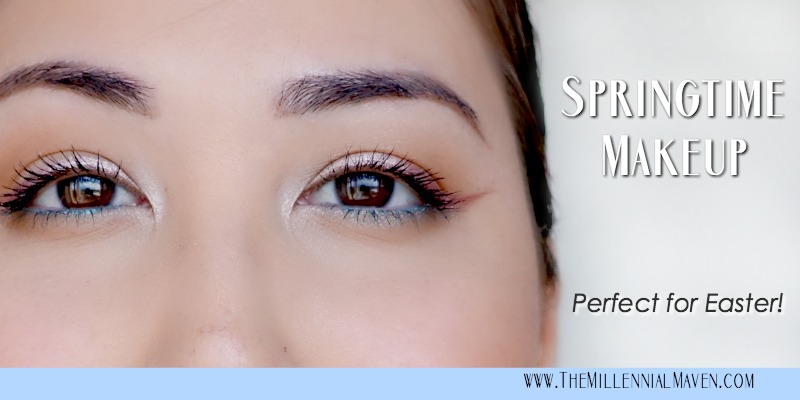
I don’t know about you, but I love me a good, snappy eyeliner wing. Aaaaand it’s pink! It’s the perfect spring makeup look.
This style is typically what I do when I want something a bit more eccentric, but not really, really wild.
Even with the long and dramatic wing, the look still remains fresh thanks to the soft colors, warm matte crease, and not a hint of black in sight!
It’s perfect for daytime parties, Easter gatherings, baby showers (pink and blue!) and trips to the mall. Super casual.
Read on if you’re ready to see how I create my go-to “Daytime Funky” spring makeup look!
Too Faced Shadow Insurance >> [Sephora] [Ulta]
NYX Micro Brow Pencil in Brunette >> [Amazon] [Ulta]
NYX Tinted Brow Gel in Brunette >> [Amazon] [Walmart]
Revlon Colorstay Creme Eyeshadow in Praline >> [Amazon] [Ulta]
Coastal Scents Hot Pots in Peach Fuzz & Antique Maroon >> [CoastalScents (PF)] [CoastalScents (AM)]
Milani Brow Fix Kit in Medium >> [Amazon] [Walmart]
Mary Kay at Play Eye Crayon in Teal Me More >> [Amazon]
Lorac Pro+ Fiber Mascara >> [Amazon] [Ulta]
E.l.f. Makeup Remover Pen >> [E.l.f. Cosmetics] [Amazon]
E.l.f. Blemish Control Primer >> [E.l.f. Cosmetics] [Amazon]
Benefit Hello Flawless! Oxygen Wow Liquid Foundation in Champagne >> [Sephora] [Ulta]
E.l.f. HD Lifting Concealer in Fair >> [E.l.f. Cosmetics] [Amazon]
Rimmel Stay Matte Pressed Powder in Transparent >> [Amazon] [Ulta]
NYC Bronzing Face Powder in Sunny >> [Amazon]
Milani Baked Blush in Luminoso >> [Amazon] [Walmart]
Becca Shimmering Skin Perfector Pressed in Pearl >> [Sephora]
Ciate London Liquid Velvet Liquid Lipstick in Swoon >> [Sephora]
Smooth eyeshadow primer over your eyelids
The first thing I always do is apply my eyeshadow primer. It’s the one thing I can’t afford to miss.
Today I’m using Too Faced Shadow Insurance, but use whatever works best for you.
I do recommend a transparent primer for this look, though. You want to keep the eye area looking as fresh and natural as possible, and a transparent primer gives your eyeshadow the support it needs without completely covering up your skin.
Blend the eyeshadow primer a bit farther out than you normally would to make sure the wing has a strong base all the way to the very tip.
Follow with face primer all over your face
Since we’re going for a natural spring makeup look, we want the skin to look as flawless as possible while still looking like you haven’t got a ton of products on.
It may seem counterintuitive, (since it’s another product,) but using a primer will make your end result look much more natural by nipping problems in the bud.
I’m having a slight bout of acne at the moment, so I’m reaching for E.l.f. Blemish Control Primer and smoothing that all over my face.
If you have oily skin, go for a mattifying primer to cut down on the amount of primer you’ll need to use later. Likewise, if you have redness, go for a color correcting primer so you won’t have to pile on as much foundation and concealer. You catch my drift.
Apply your favorite foundation & concealer
What is happening here!?
If you are familiar with my tutorial at all, then you know I almost never apply my foundation before my eyeshadow. But since this look doesn’t create much fall out, I thought I’d get it over with.
For foundation, I went with something I’ve been totally neglecting in recent months, and it’s Benefit Hello Flawless! Oxygen Wow in the shade Champagne. I felt that the warm tone of this one would complement my overall look perfectly, and I was right!
For concealer, I toned down the warmness of the foundation slightly by using E.l.f. HD Lifting Concealer in Fair, which has a more neutral to gray undertone. Don’t worry, it looks better than it sounds.
It was actually kind of fun. It was like I was painting on a completely blank canvas. Perhaps I should do this more often… Okay, getting off topic here.
Back to the spring makeup look tutorial!
Fill in those eyebrows
Filling in your eyebrows before you begin your eyeshadow helps immensely. By figuring out where it looks best for you to end the tail of your brow, you’ll have a guideline on exactly where your wing and crease color should end as well.
I’m using NYX Micro Brow Pencil in Brunette. This one is a slightly warmer shade than I’d usually wear, but I like that quality to match this overall warm spring makeup look.
Sketch the shape of your wing
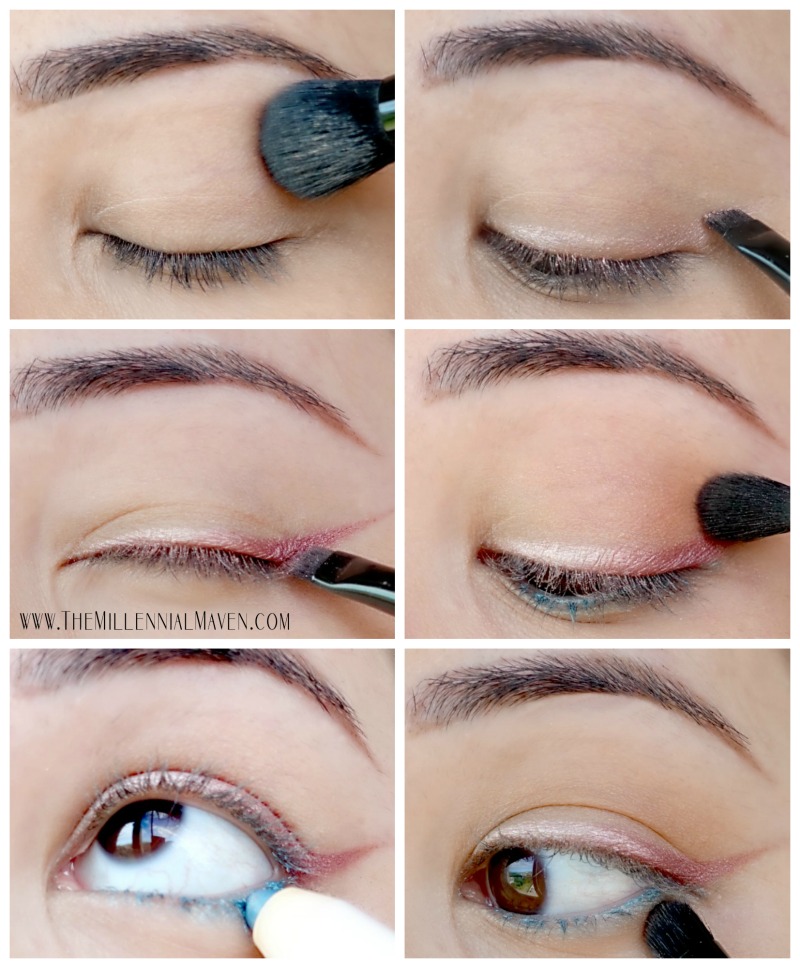
Using a small eyeliner brush and a light pink cream eyeshadow, begin sketching out where you want your wing to be.
I’m using Revlon Colorstay Creme Eyeshadow in Praline, which as you can see in the photos, doesn’t show up very much. But that’s okay because we’re going to cover it up anyway. All you really need is a base for your powder eyeshadows to stick to.
This is the time to get the angle and length of your wings matching, so take your time here.
Press light pink eyeshadow over the inner half
Using the same eyeliner brush, gently press a shimmery, pink champagne eyeshadow over the creme shadow, stopping at about the center of your eye.
I’m using a Coastal Scents Hot Pot in Peach Fuzz.
Don’t worry if it looks somewhat messy at this point, we’ll clean it up in a bit.
Press darker pink shadow over the outer half
Next, press a darker pink eyeshadow over the outer corner of the wing. Gently blend this shade into the lighter pink you just applied to create a seamless ombre effect.
I’m using another Coastal Scents Hot Pot in Antique Maroon.
Not gonna lie, it is pretty difficult to get this step looking good in the first try. It will look “fuzzy” and the wing won’t be sharp at first.
Clean up edges and reapply eyeshadows
Once you’ve got the general shape down, it’s time to up around the area and sharpen the wing.
My favorite tool for this is the E.l.f. Makeup Remover Pen. If you haven’t used this, you need it in you life. Run the pointed tip over the edges of your wing to achieve a perfectly sharp edge. If necessary, go back in with your eyeshadow to add a bit more color. Just keep doing this until your wing looks perfect!
Pssst! If you want to know more about the E.l.f. Makeup Remover Pen, (of course you do, why wouldn’t you?) then you’re in luck. I’ve got a full review and demo post for you right here. Check it out >> E.l.f. Makeup Remover Pen Review + Uses
Blend matte brown shade into your crease
After you’re happy with your wings, use a fluffy blending brush to blend a warm matte brown shadow into your crease.
I’m using the middle shade from my Milani Brow Fix Kit in Medium.
Apply light blue eyeliner to your lower waterline
Here’s where you can adjust just how funky you want this look ending up. For me, I wanted something a bit more wearable, so I kept the blue as close to my waterline as possible. For a funkier look, simply bring the blue a bit farther down and blend it out.
I’m using my Mary Kay at Play Eye Crayon in Teal Me More that I got from Ipsy. This is actually the first time I’ve used it because I just don’t have much use for blue eyeliners before this, and so I’m glad I kept it.
After applying the blue, blend the color with the same matte brown used in your crease to complete the look.
Finish with mascara & highlighter
Apply your favorite mascara to add mega volume to your lashes. Or, if you’d like, you can go for false lashes.
Today I’m using Lorac Pro+ Fiber Mascara on my top and bottom lashes.
Add some highlights just below your brow and in your inner tear duct area for some extra dimension. You can use a shimmery white eyeshadow here, but I’m just using the same highlighter I’m using on the rest of my face. (More on that in a bit!)
Bronze your face for a warm glow
Buff on a slightly warm bronzer to make your face radiate healthiness.
A slightly shimmery bronzer would look nice too, but I’m using my favorite matte bronzer of life, NYC Bronzing Face Powder in Sunny. I just can’t get away from this stuff.
I apply it in the hollows of my cheeks for a very light contour, and then I blend it up onto my cheeks. Take a little and brush it over your forehead, concentrating on the edge near your hairline. Finally, brush the product under your chin and jaw and onto the tip of your nose for extra warmth.
Apply peachy blush & shiny highlighter
I want the eyes be the star of my spring makeup look, so I’m keeping cheeks soft.
Milani Baked Blush in Luminoso is my go-to when I want just a touch of color without going overboard. It adds the perfect flush of color without being distracting.
For the final touch, I went with a super bright highlighter to really get my glow on.
Becca Shimmering Skin Perfector in Pearl is a bright white shade, but you don’t need to be afraid of it. It can look beautiful even on darker skin tones as long as it is applied lightly and blended well.
I apply mine around my eyes as mentioned above, plus on my cheekbones and on my nose.
And for the lips
In keeping with the “natural” theme, I’m wearing Ciate London Liquid Velvet Liquid Lipstick in Swoon on my lips.
Side note- if you haven’t tried these liquid lipstick, you definitely should. They’re lovely.
That’s all for today!
Like this colorful tutorial? You’ll love this one too >> St. Patrick’s Day Makeup Look + my favorite green beauty products
If you find this post interesting, informative, or just plain entertaining, tell me about it in the comments below. And don’t forget, sharing is caring. Share this post!
Till next time. ♥︎
Sign up for my free monthly e-journal, The Millennial Maven Love Letters for exclusive content + millennial inspiration and lifestyle hacks. Plus get instant access to my library of on-the-go style downloads!
FTC- Not sponsored by any brands mentioned. I purchase all products myself. All opinions are my own. Some links may be affiliated.

Cool makeup. Different but no so different. like it.
Thank you so much! Glad you enjoyed. 🙂 xo
The pink wing looks really pretty, and it looks super easy too. I’ll have to try it. Thanks -Avery
Hi Avery, I’m glad you found this helpful! If you’d like, I actually have a PDF printable to make following the tutorial even easier. All you have to do is sign up for my newsletter and get instant access to the Millennial Maven Beauty Closet here >> https://www.themillennialmaven.com/index.php/contact/
Thanks for reading! 🙂 xo
I notice you use the Coastal Scents eyeshadows all the time. Are they really that good? Can you talk more about them? Thanks!
Hi Leola! I actually have a full review on the Coastal Scents Hot Pots. I discuss all of my 40 shades in depth and highlight the ones that I feel are best. In a nutshell, some are better than others, but most are definitely worth looking into, especially for beginners. Hope this helps! Thanks for reading! 🙂 xo
Here’s the review >> Coastal Scents Hot Pots Review + Swatches
This image is actually perfect. Sooo pretty! =D
Thank you, Cindy! I try, lol 😉 Thanks for reading! xo
This is such a pretty look. Perfect for Spring. I really like this soft, feminine color palette.
Thank you so much, Cait! 🙂 xo
Love this look and so informative! Your blog is awesome! Subscribing! 🙂
Hi Connie, I’m glad you enjoy! Thanks so much for reading & subscribing 🙂 xo