This post contains affiliate links. To learn more, hop over to our Disclosure page.
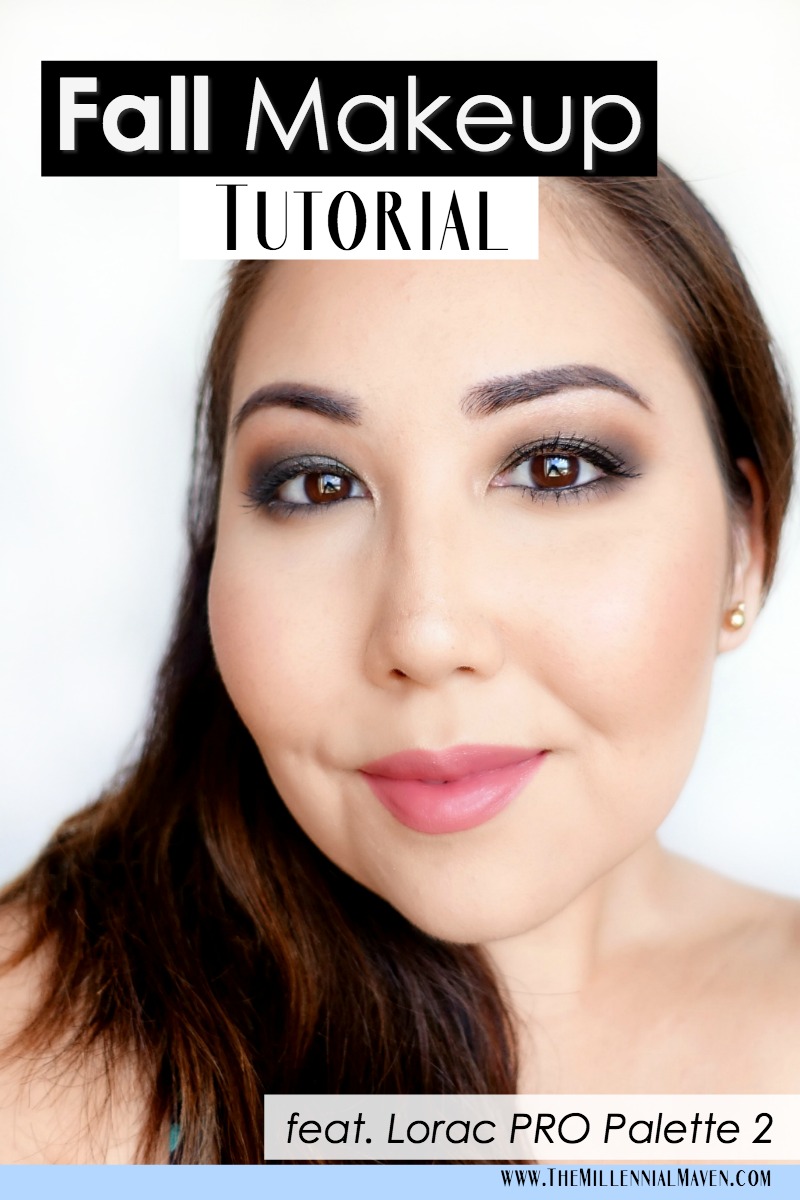
It’s my first official “fall” post of the year, and we’re taking it off the beaten path with this cool (literally) makeup tutorial!
We tend to associate fall with all the warm. I’m talking reds, oranges, and burgundies on the eyes, browns and berries on the lips, and of course, Pumpkin Spice Lattes. Mmmm. (TBH, I’ve never actually had a Pumpkin Spice Latte, so I should probably try one sometime soon.)
This makeup tutorial uses deep khaki green blended with a cool, matte gray to create a deliciously smoky look that’s nice and deep for fall, but still has a different vibe than your average fall makeup.
Today I’m using the Lorac PRO Palette 2, but of course, there are tons of eyeshadow palettes out there that would work perfectly for this tutorial. So grab your greens and grays and let’s get started!
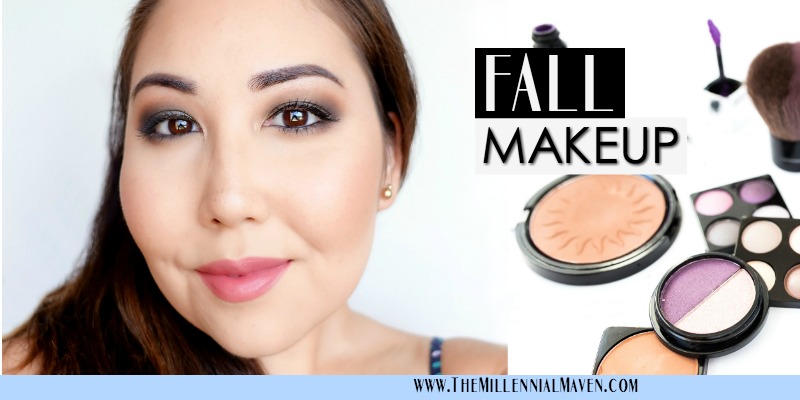
These are the products I’m using…
Anastasia Beverly Hills DIPBROW Pomade in Dark Brown >> [SEPHORA]
NYX Proof It Waterproof Eyeshadow Primer >> [AMAZON]
Lorac PRO Palette 2 >> [AMAZON]
Kat Von D Tattoo Liner in Trooper >> [SEPHORA]
Marc Jacobs Highliner Gel Eye Crayon Eyeliner >> [SEPHORA]
L’Oréal Voluminous Lash Paradise Mascara >> [AMAZON]
Milk Makeup Blur Stick >> [SEPHORA]
Make Up For Ever Ultra HD Invisible Cover Foundation in Y245 >> [SEPHORA]
L’Oréal True Match Super-Blendable Powder in Natural Beige >> [AMAZON]
Urban Decay Naked Skin Weightless Complete Coverage Concealer in Light Neutral >> [SEPHORA]
Benefit Hoola Matte Bronzer >> [SEPHORA]
Tarte Amazonian Clay 12-Hour Blush in Paaarty >> [SEPHORA]
Becca Shimmering Skin Perfector Pressed Highlighter in Opal >> [SEPHORA]
Tarte Rainforest of The Sea Color Splash Lipstick in Set Sail >> [SEPHORA]
Start with your eyes
Fill in your eyebrows & apply eyeshadow primer // Fill in your eyebrows first thing. Having your brows done is super helpful as a guide to make sure your eyeshadow stays within city limits. AKA, the last thing you want is your smoky eyeshadow migrating so far outward it’s approaching your ears! Your eyeshadow should extend just as far out as the tail of your eyebrow, no farther. I’m using Anastasia Beverly Hills Dipbrow Pomade in Dark Brown for my brows because I like the crisp definition pomades provide.
Applying your eyeshadow primer after your brows ensures that there is no excess slipperiness that can make your brows look messy. To keep my intense eyeshadow colors in place all day, I’m using one of my drugstore big-guns, NYX Proof It Waterproof Eyeshadow Primer.
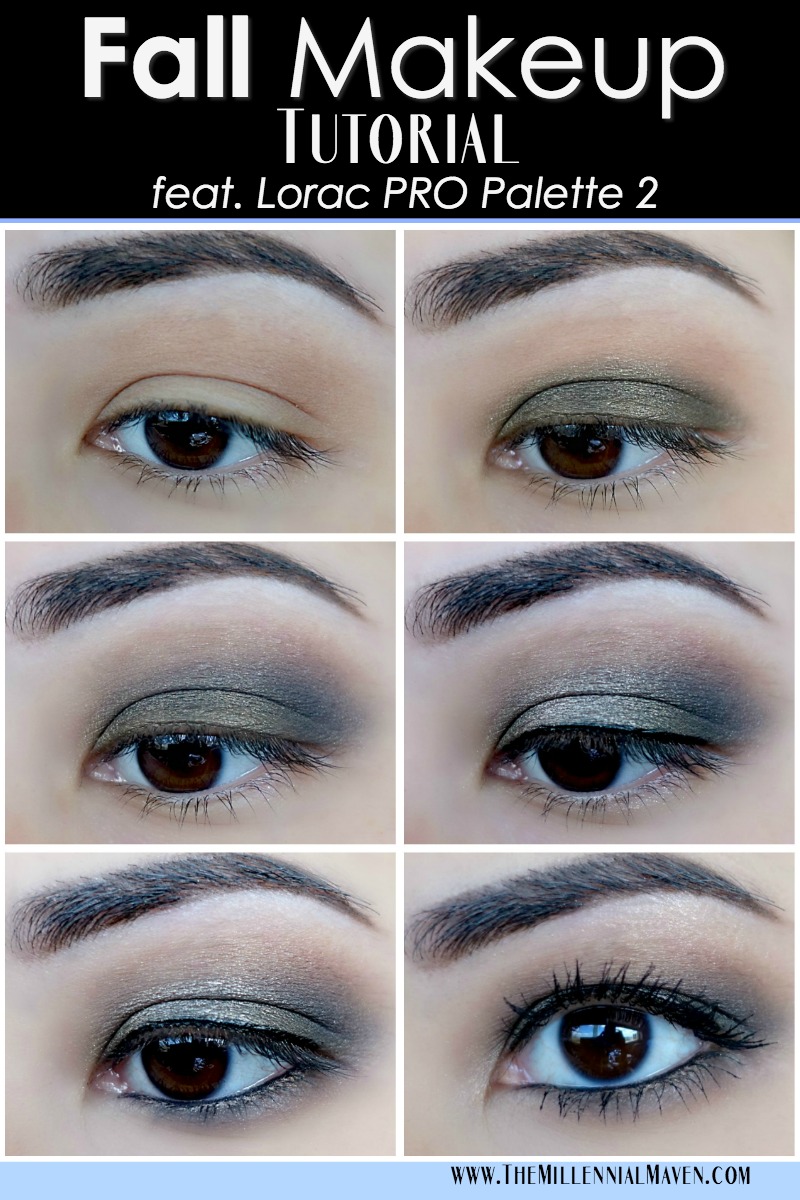
Blend light neutral brown all over your crease // Dust BUFF from the Lorac Pro Palette 2 all over your eyelid first in order to make sure everything is extra blendable. Next, buff LT. BROWN all over your crease area. This acts as a transition shade to make everything nice and smooth, and it also lays down an easily adjustable boarder so your eyeshadow ends up being the same size on both sides.
Pack on deep khaki green all over your lid // Using a flat shader brush, pick up JADE and pack that from inner corner to outer corner, and right up to the crease. This is a shimmery shade, so we don’t want it going too far up. If you have hooded eyes like I do, then you’ll want to ensure you bring it up high enough so it is visible when you open your eyes.
Blend dark matte gray into your crease // With a small dome brush, pick up CHARCOAL from the same palette and place the color right at the outermost corner of your eye. Once most of the color is off the brush, gently drag the remaining color in a “V” shape up into your crease. I recommend using this brush just to perfect the shape. Blend over the gray with a clean fluffy brush to smooth the edges. Repeat the process as necessary until you achieve the darkness you like.
Highlight the center of your eyelids // To make the more more dimensional, lightly tap your finger into ROSE and dab the color on the center of your eyelid. Blend lightly with your fluffy brush, making sure to keep the color concentrated right in the center.
Apply a thin line of liquid eyeliner // Darken your lash line with Kat Von D Tattoo Liner in Trooper, and end the line right at the corner of your eye. This look looks best without a wing because it really lets the smokiness shine. I like my eyeliner to be “barely there.” It should be visible, but not the focal point of the look.
Move on to the face
We’ll be come back to the eyes in a bit, but for now let’s work on the face makeup.
I’m using a pore filling primer // In the cooler months, I tend to go more for the flawless look rather than the natural look. I prepare my face using my Milk Makeup Blur Stick so I can achieve that smooth and flawless look. You go for whatever primer suits your specific needs; primer is super personal.
Medium coverage foundation is my go-to // Medium coverage foundation is, well, a happy medium between looking super unnaturally flawless, and looking like you could use a few more hours of sleep. Personally, I’d rather avoid either of those two extremes. Make Up For Ever Ultra HD Invisible Cover Foundation leaves my skin looking even and perfected, but not like I’m hiding my deepest, darkest secrets under my foundation mask. It’s a fine line, you know.
Conceal under eyes & blemishes // Add small amounts of your favorite high-coverage concealer wherever you need it. I didn’t want strong highlights for this look, so I went with a shade similar to my skin tone, and used it sparingly. Urban Decay Naked Weightless Concealer has been on the back burner lately as I’ve been trying new contenders, but now I remember why I love it so much!
Powder where necessary // After blending in your foundation with your sponge of choice, apply powder as needed to set your foundation. I go rather heavy handed with my L’Oréal True Match Powder since I get oily. If you have dry skin, go easy on the powder so you don’t end up looking overly dry. I do sort of a “half-bake,” where I scrub off some pressed powder from the compact using my blending sponge, (graceful, I know,) and stamp that under my eyes so I look like a ghoul. I then pat the leftovers from the sponge all over my face, and circle back round to knock the excess off my under eyes. The entire process takes about 30 seconds.
Neutral matte bronzer for a natural glow // Gonna be super basic here and proclaim my love, yet again, for Benefit Hoola Bronzer. The formula is matte so you don’t look sparkly in weird places, but the finish is still silky and not at all chalky or dry looking. Plus, the shade is the perfect neutral mix between just bronzy enough, and just shadowy enough. It’s perfect.
Mauve matte blush matches perfectly // To keep with the cool toned theme, I pair this eye look with my favorite mauve blush. Recently, Tarte Amazonian Clay Blush in Paaarty has been my absolute favorite as of late. I recommend selecting a matte blush so you have complete control over the amount of shine, which we will definitely be adding via one of my favorite highlighters.
Shiny highlighter to add dimension back to your face // I chose Becca Shimmering Skin Perfector in Opal, and I think it goes perfectly with this look! The creamy color matches perfectly with the cool tones without looking overly icy. Lightly dust this shade basically everywhere you’d normally place highlighter. Then add another layer. And keep going until you’re glowy and stunning.
Finish up the eyes
Line your waterline & blend with eyeshadows // Line your waterline with a black pencil liner. Here, I’m using Marc Jacobs Highliner Gel Pencil in Blacquer. Using a pencil brush, blend out the eyeliner using any combination of the shadows used on your top eyelids. You adjust how smoky you want it here. I applied CHARCOAL to the outer half, and them blended over the entire lower lash line with JADE.
Finish with black mascara & highlighter // You know what to do here. Perk up those lashes of yours with your favorite black mascara. Right now, I can’t put down my L’Oréal Lash Paradise. Using a small brush, run a small amount of highlighter over your brow bone and in you inner corners.
Do one last sweep to blend if necessary, and you’re done!
Top it off with the perfect lip
Exfoliate like crazy // I don’t know about you, but my lips get super dry in cooler weather. The last thing I want is for them to look dry too. Use you favorite lip scrub to polish your lips before applying lipstick. Lipstick tends to make your lips look even drier, so it’s definitely worth it to exfoliate beforehand.
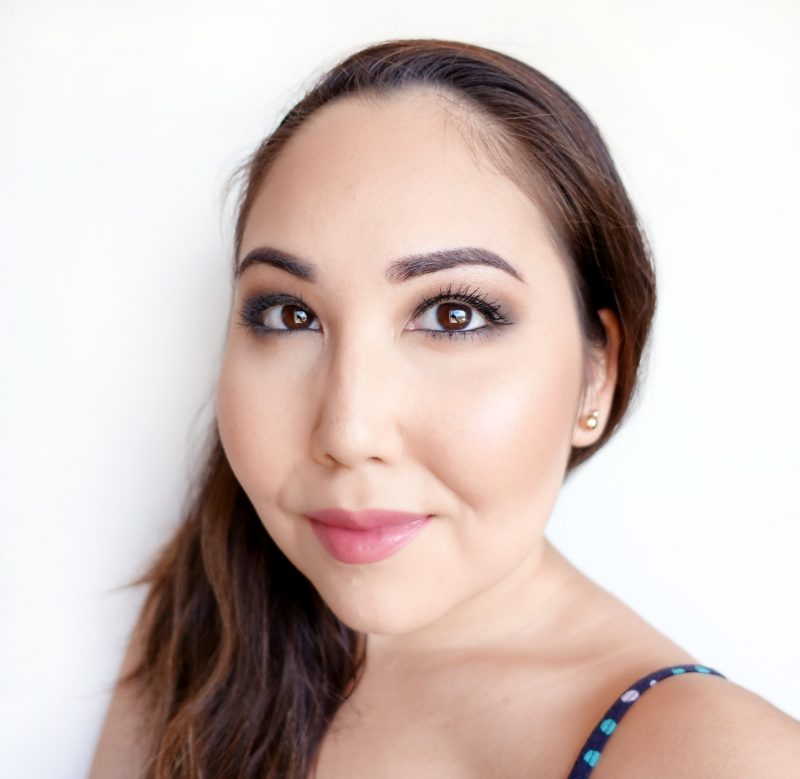
Apply a neutral, somewhat nude lip color // I wanted a natural finish, so I skipped the matte liquid lipstick. Instead, I choose my lightweight Tarte Rainforest of the Sea Lipstick in Set Sail for an effortless effect. I think the color matches perfectly.
That’s all for today!
Like this post? You’ll definitely enjoy this one too >> Warm Purple & Gold Fall Makeup Tutorial
If you find this post interesting, informative, or just plain entertaining, tell me about it in the comments below! And don’t forget, sharing is caring. Share this post!
Till next time. ♥︎
Sign up for my free monthly e-journal, The Millennial Maven Love Letters for exclusive content + millennial inspiration and lifestyle hacks. Plus get instant access to my library of on-the-go style downloads!
FTC- Not sponsored by any brands mentioned. I purchase all products myself. All opinions are my own. Some links may be affiliated.
Leave a Reply